Part 55: Brightmoon Tor: First Watch
Update 55: Brightmoon Tor: First Watch---
Welcome back! In this update, we're visiting the first part of FFTA2's bonus dungeon: Brightmoon Tor.
Any veteran of FFTA2 can tell you this dungeon is legitimately difficult -- often because the computer cheats, as you'll see later.
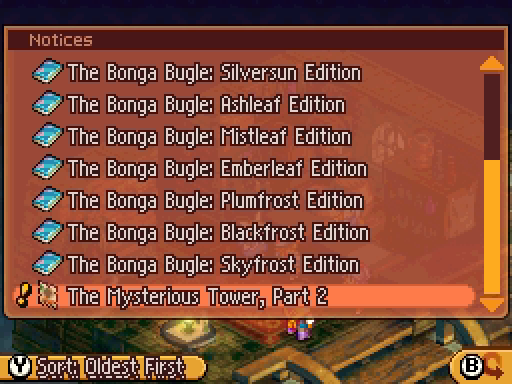
Brightmoon Tor is unlocked by discovering Shadehome (via the Bonga Bugle - Silversun quest) and completing the Star Seal, Moon Seal and Sun Seal quests. Fulfilling these conditions causes this notice to appear in the pub:
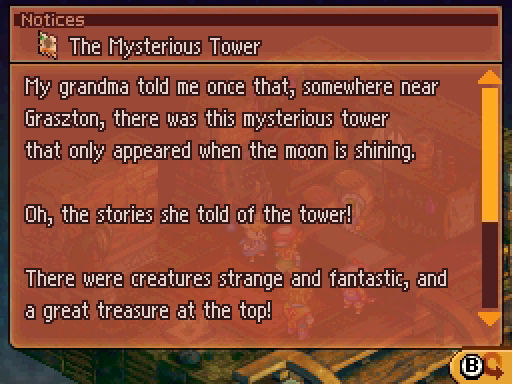
The Mysterious Tower posted:
My grandma told me once that, somewhere near Graszton, there was this mysterious tower that only appeared when the moon is shining.
Oh, the stories she told of the tower!
There were creatures strange and fantastic, and a great treasure at the top!
She told me a story of a famous knight who ventured in there once, too, but I forget how that one went.
Luma, Town Gossip

After reading it, trek down to Graszton.
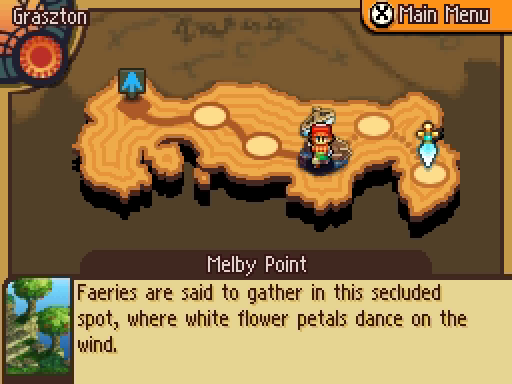
The tower should appear right here. The notice says "when the moon is shining," which means...
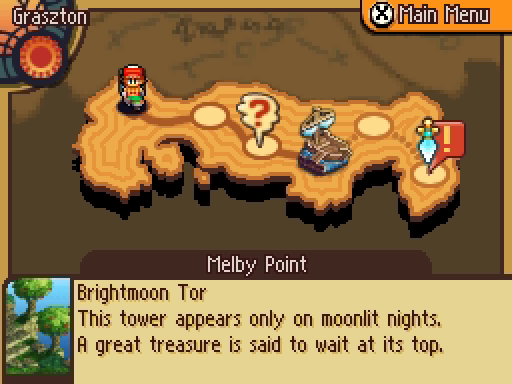
Well it means we enter and exit Graszton until it eventually appears! Seriously, there's no rhyme or reason as far as I know for when it shows up.
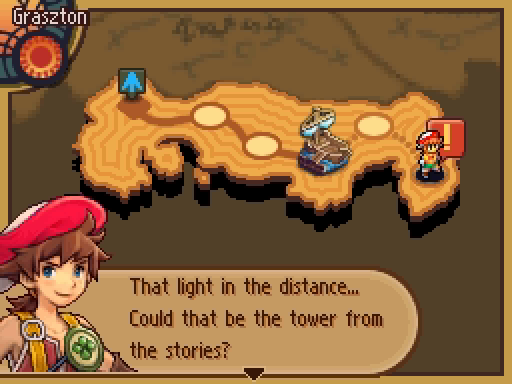
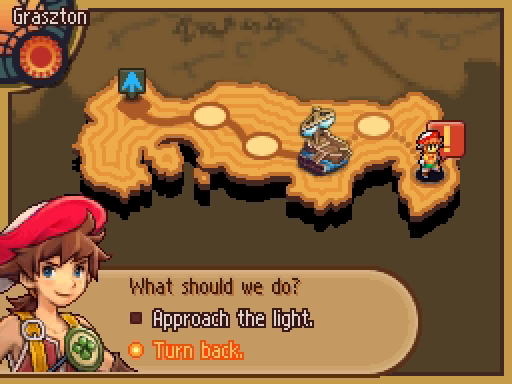
Of course we press forward.
---

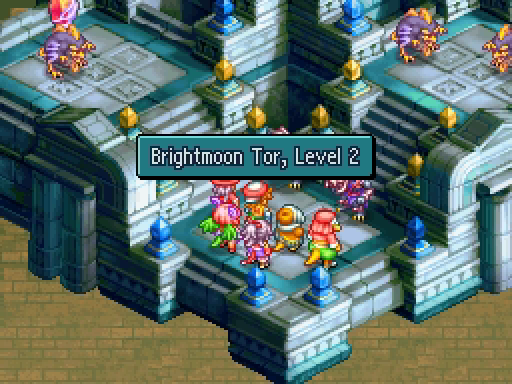
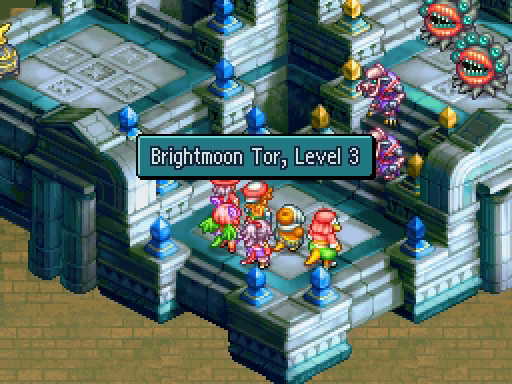
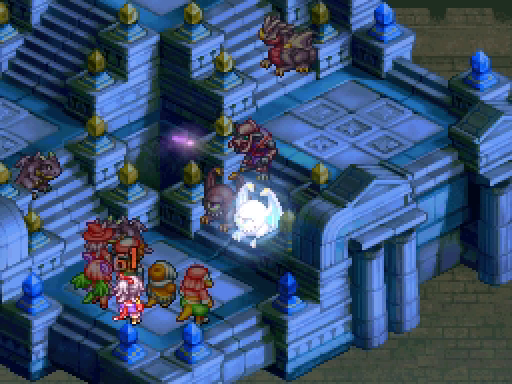
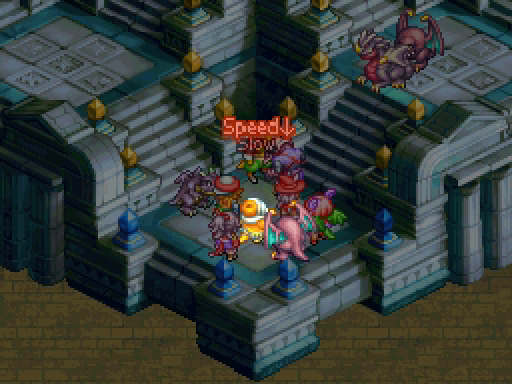
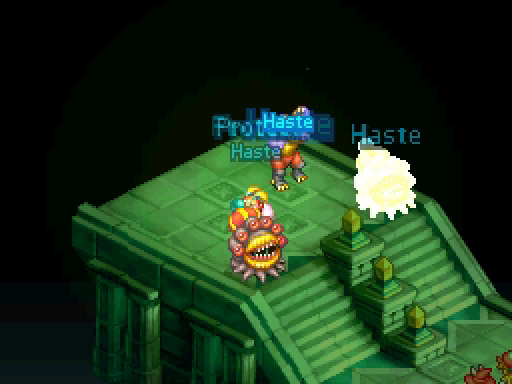
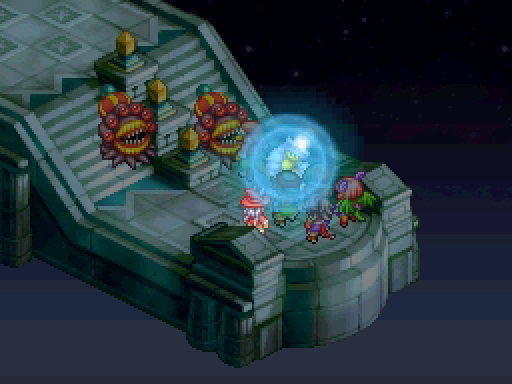
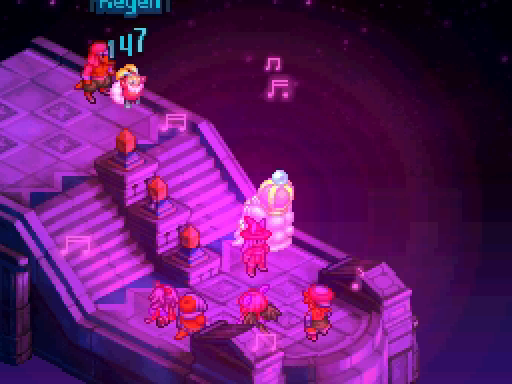
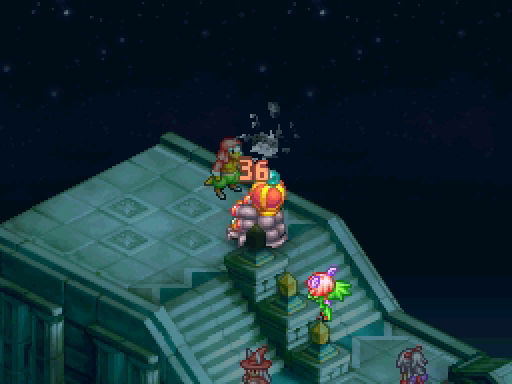
We immediately cut to Samuel standing in the tower, a mysterious nu mou standing at his back. Several enemies teleport in.

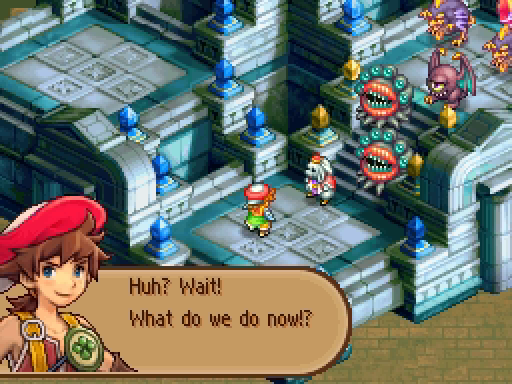
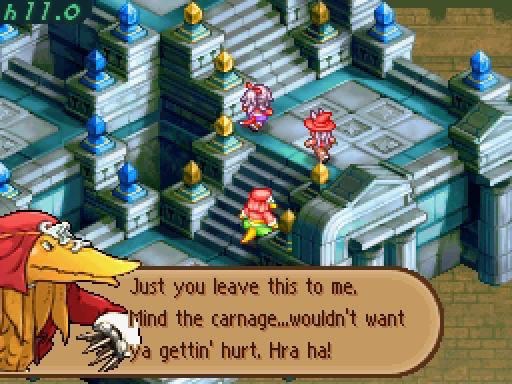
Samuel unfreezes, realizes he's somewhere different, and whips around when the Keeper of the Tower speaks.
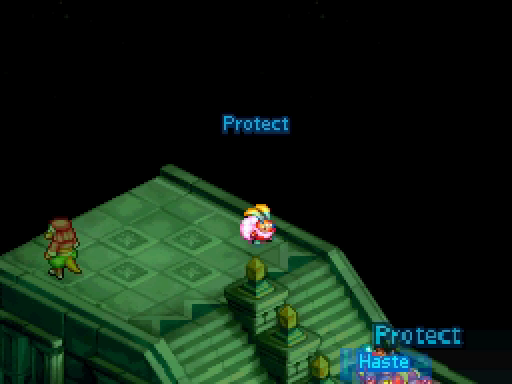
 : Welcome to Brightmoon Tor, a place of testing and -- for those who excel -- reward. There are but two ways to leave the tower: reach its top, or die in the attempt. The moonstones will guide you. Touch them and your way shall open. Now if you'll excuse me...
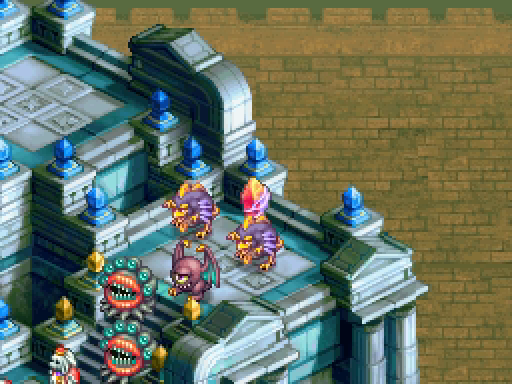
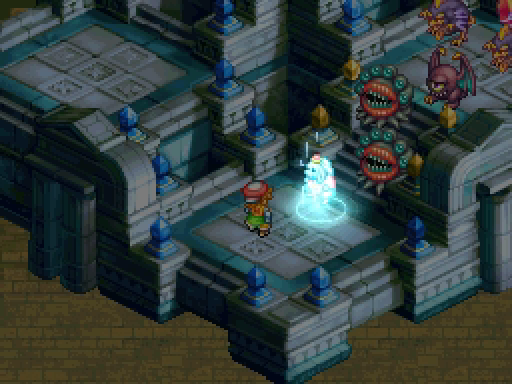
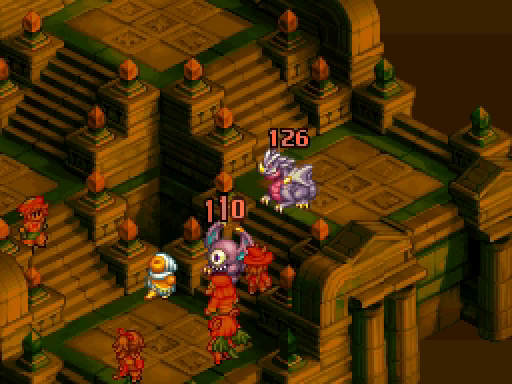
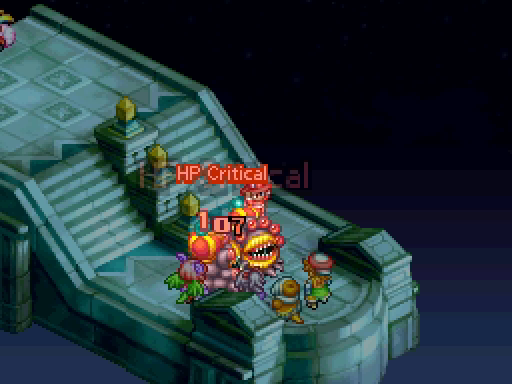
Here's the first moonstone. You may recognize it as the Stone with No Name that we investigated during the Seal quests.
The Keeper leans pretty heavily into his aura of mystery.

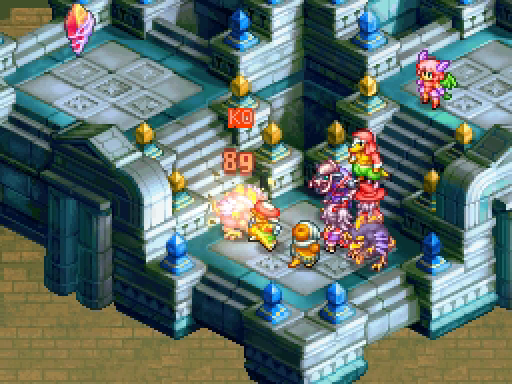
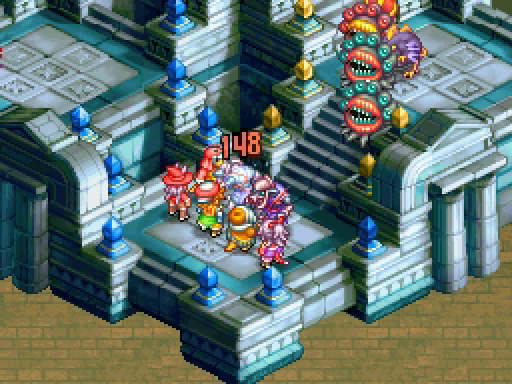
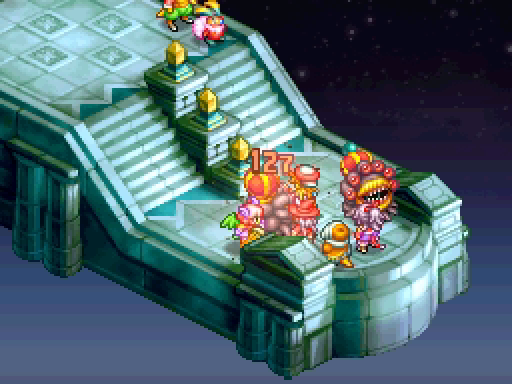
Well, you heard him, Samuel: fight our way to the top or die trying.
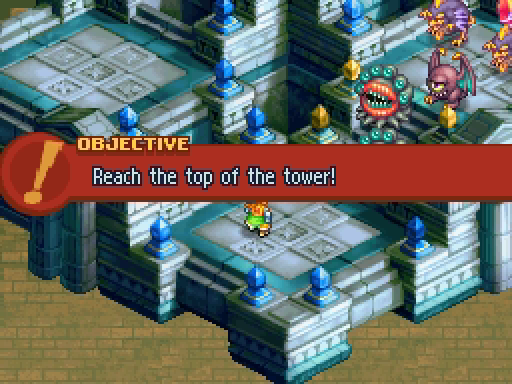
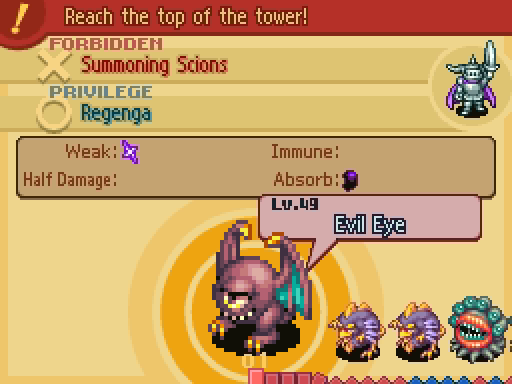
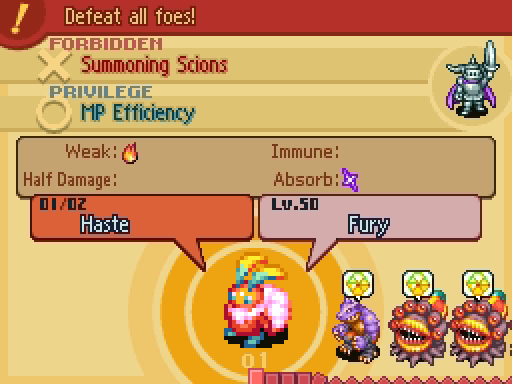
Brightmoon Tor is structured as one long quest with multiple battles. The law will not change and we can't switch up our team, but we can select a different privilege at the start of each floor.

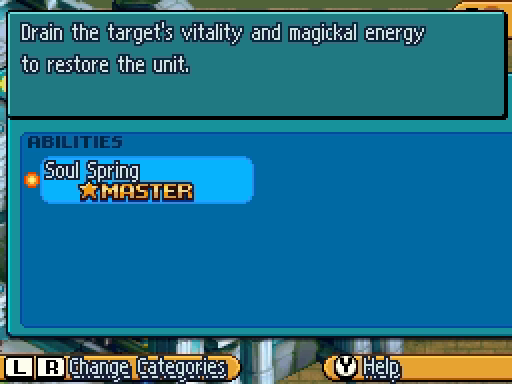
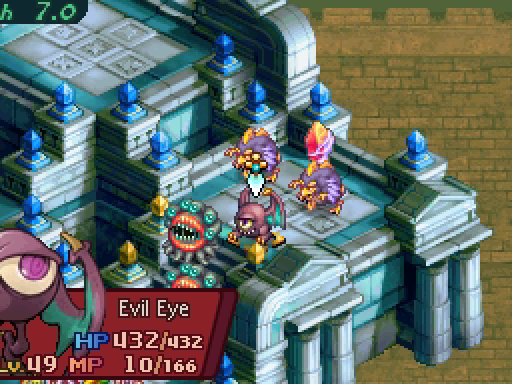
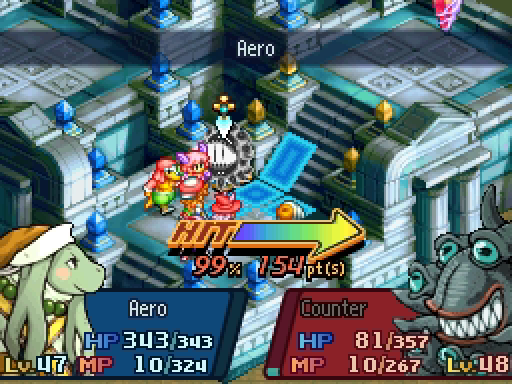
The main difficult of Brightmoon Tor is the enemies. There's no new enemy types, but many of them carry these extra "Turning" ability sets. In this case, the Evil Eye knows Soul Spring.
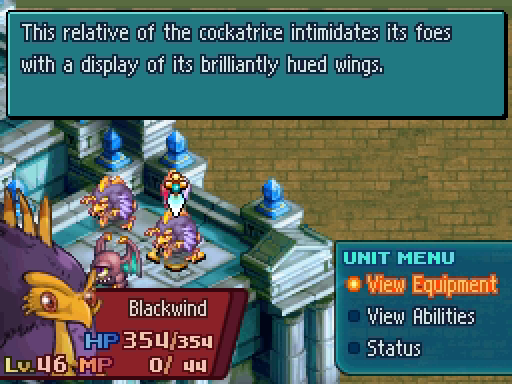
There's also the souped-up versions of Cockatrices and Malboros here. They all carry their usual elemental weaknesses, so bring plenty of Wind and Water damage.
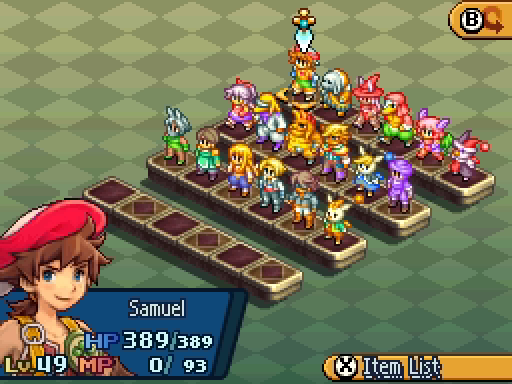

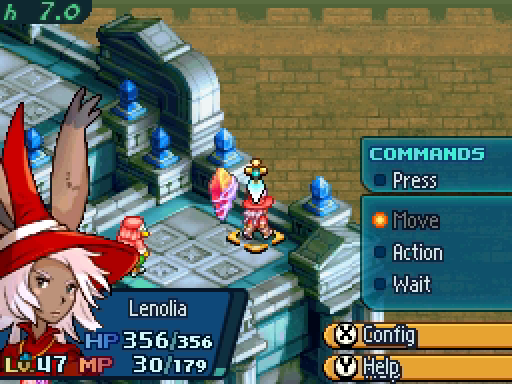
As I said, we can't change the team at all between battles, so select your units carefully. Samuel is once again here as a Parivir, though this time he'll be using his full abilities.
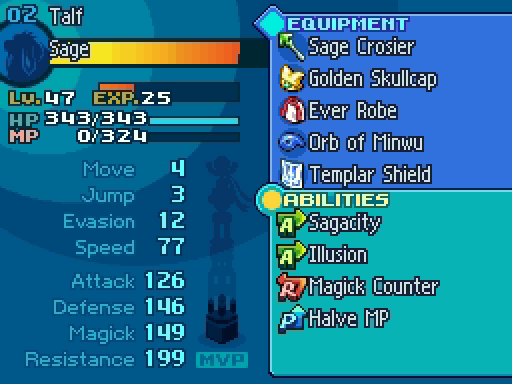
I decided to bring most of the original clan, because I'm sentimental like that. Talf will be rocking the powerful Sage + Illusionist set.
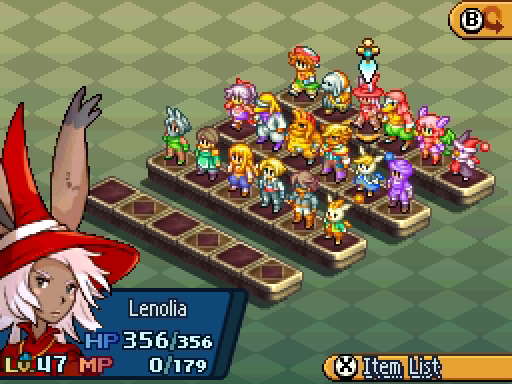
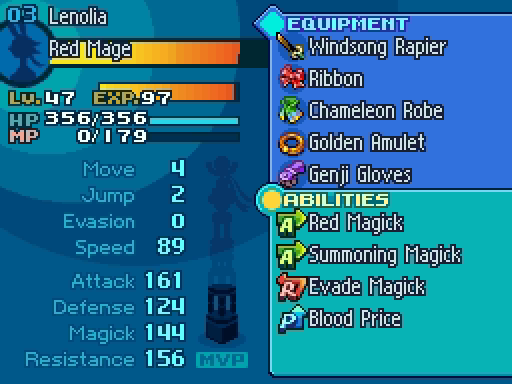
I have no qualms about using our cheapest, most exploitative tactics, so Lenolia is coming in her classic Doublecast Blood Price Summoner getup.
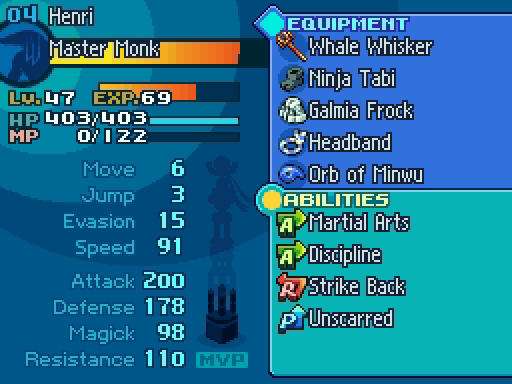
Henri is our main melee muscle, with powerful Master Monk abilities boosted by Unscarred. Dual-wielding Reverie Shields for the evasion boost is also a great strategy, but I'd rather have the damage.
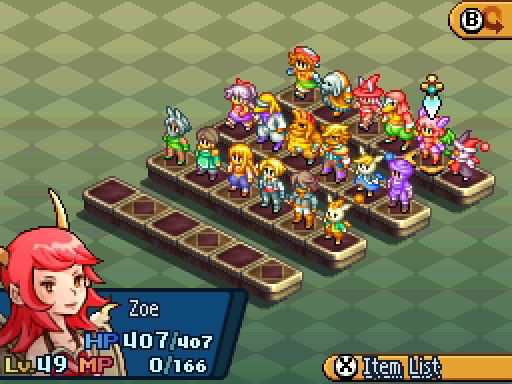
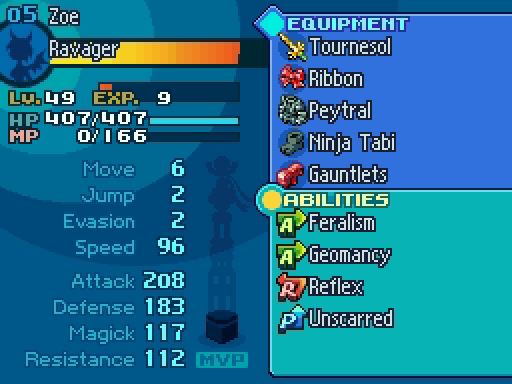
Always bring a unit that can fly or teleport. At least on your first run through Brightmoon Tor, the extra movement is extremely important for collecting treasure. Zoe will be joining Henri on the frontlines, with Geomancy giving her a ranged boost.
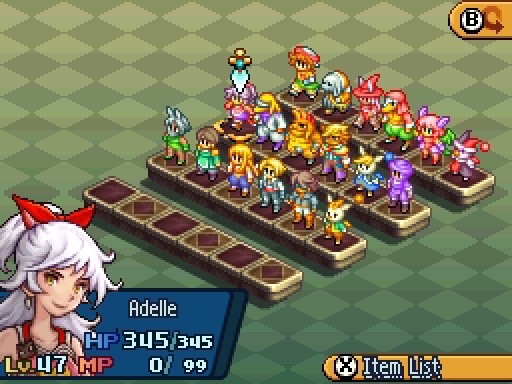
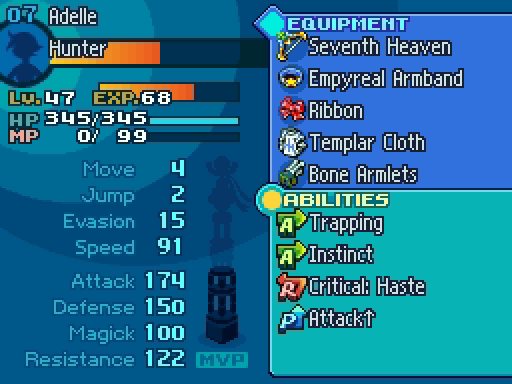
Rounding out the roster is Adelle, providing some ranged support as a Hunter + Heritor. I actually kept forgetting she was a Hunter and tried to make melee attacks with her.
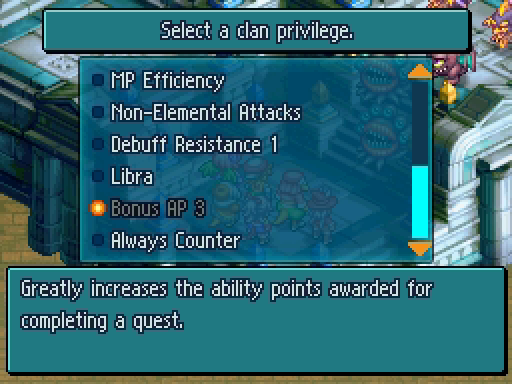
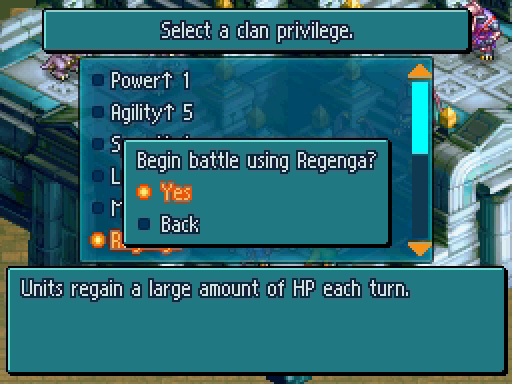
Bonus AP 3 is unavailable to us here, since this isn't a proper quest. We'll be taking Regenga for this first battle, though privileges like MP Channeling, MP Efficiency and Evasion +5 are both useful.
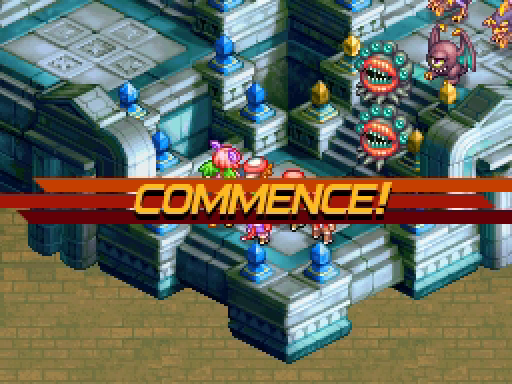
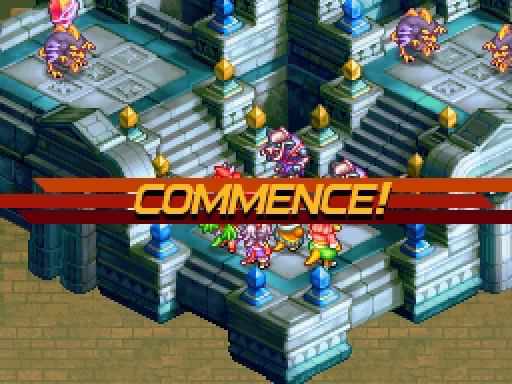
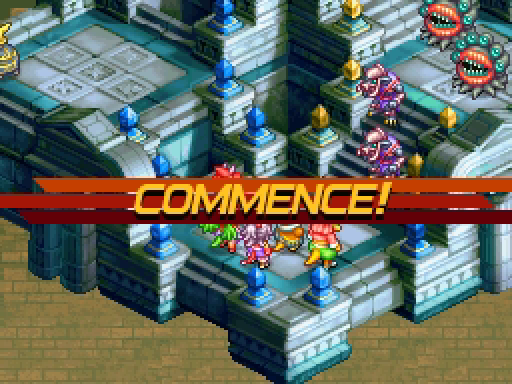
With all that out of the way, let's get started!
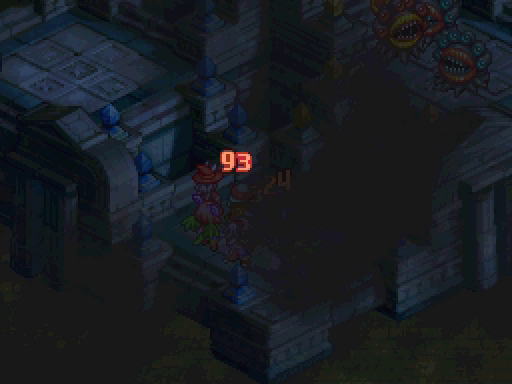
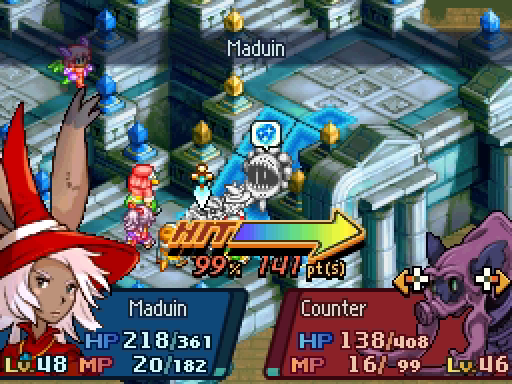
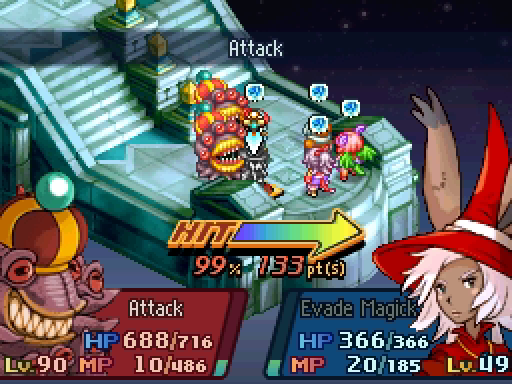
The enemies will always have a free turn on you. Seriously, look at all red enemy cards in the turn queue before our first turn! This is the main form of cheating we'll see.
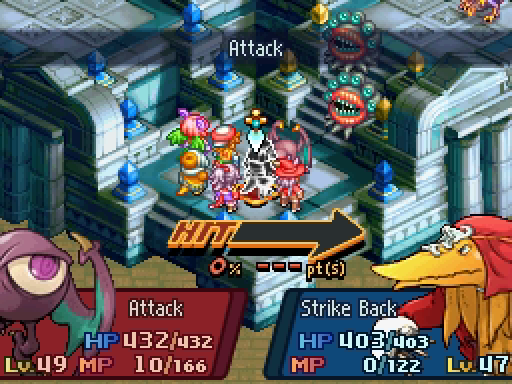
Fortunately, the AI aren't actually any smarter.

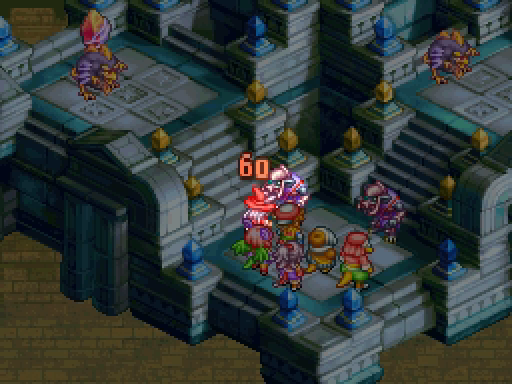
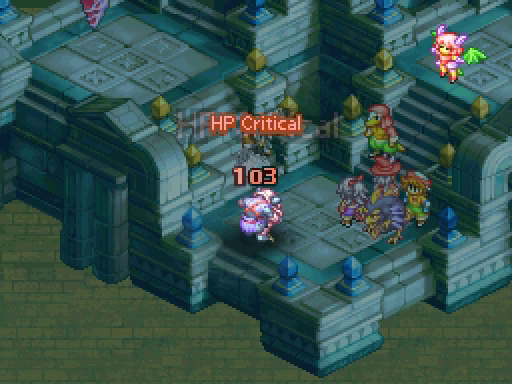
The free turn lets them get up in our space, which is actually less annoying than fighting on the tight staircase would have been. They get in some attacks, but nothing substantial.
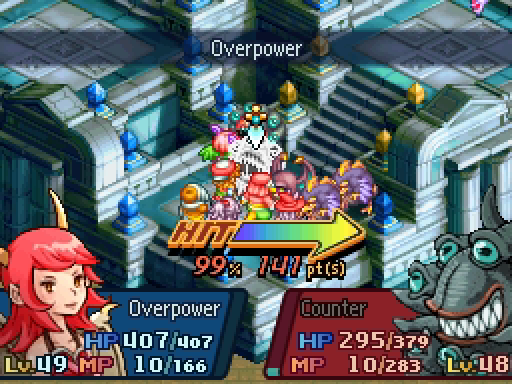

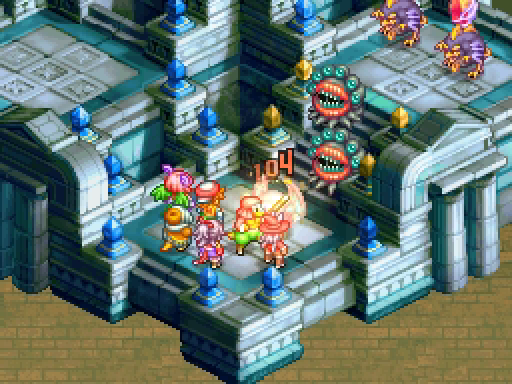
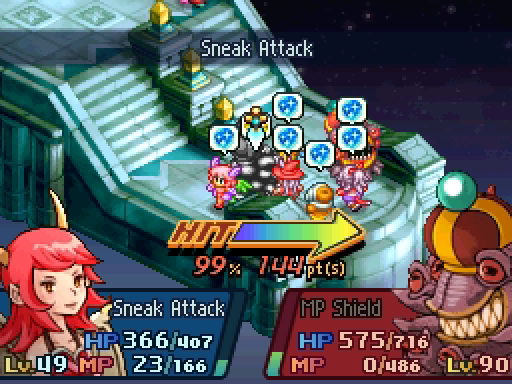
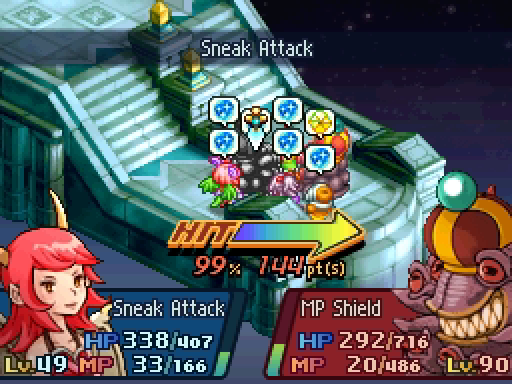
I try to be slightly more conservative in these battles, like going for Overpower instead of Sneak Attack. It's about 50 less damage, but Overpower prevents the enemy from counterattacking.

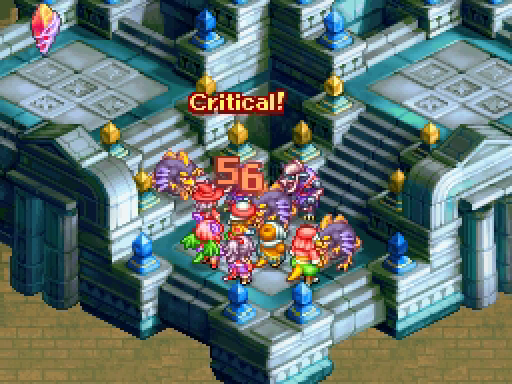
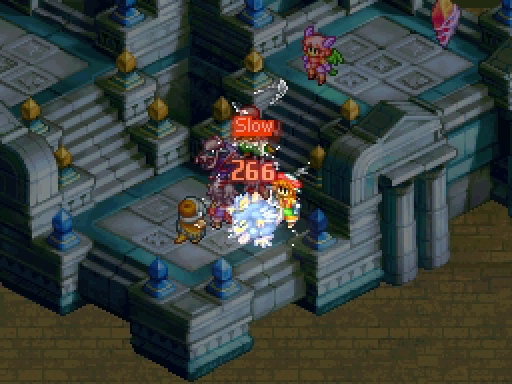
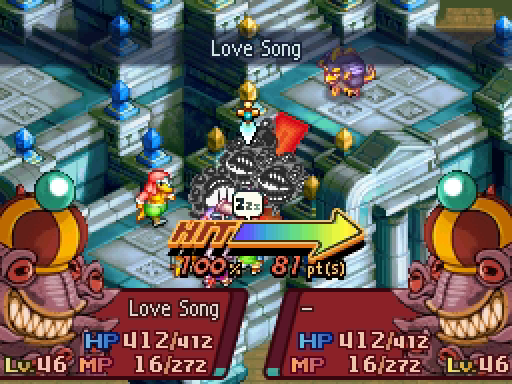
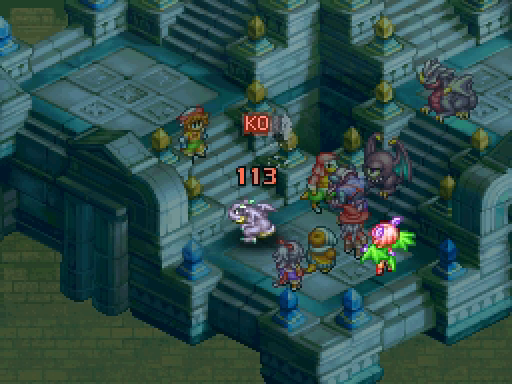
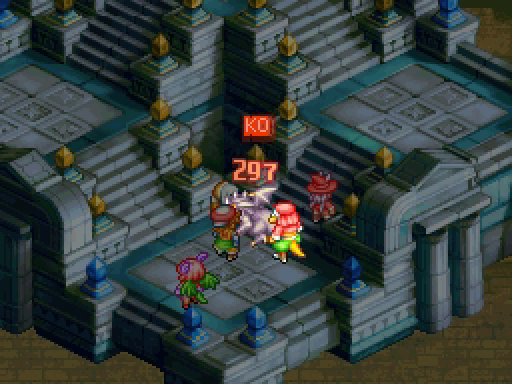
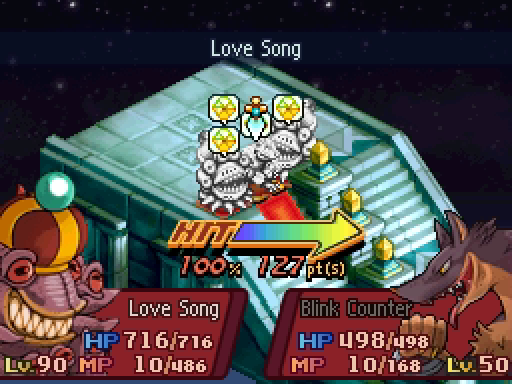
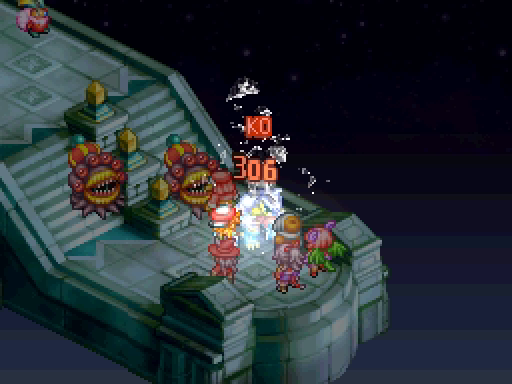
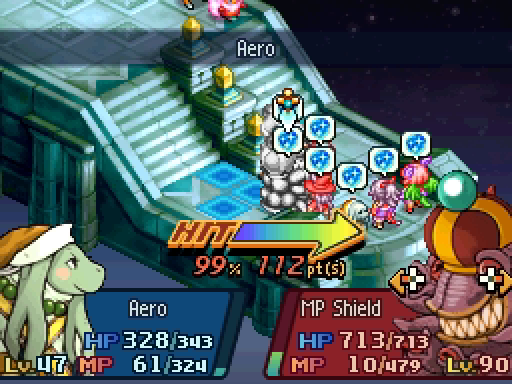
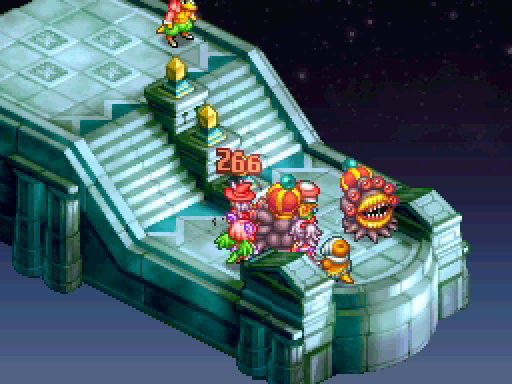
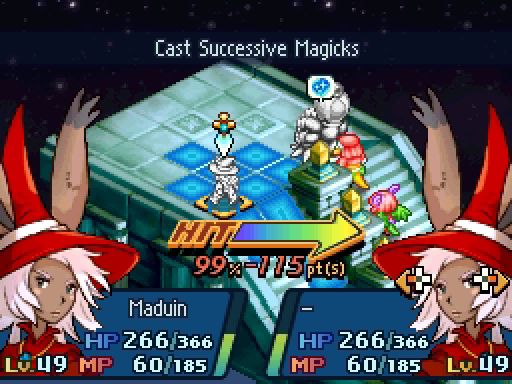
AoE damage is quite often your friend here. The tower is really cramped, and enemies will always clump together. Finding ways to let your AoE units (such as Lenolia) cut loose will make these battles a lot easier.
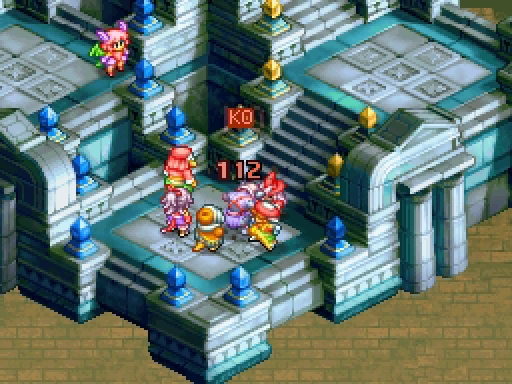
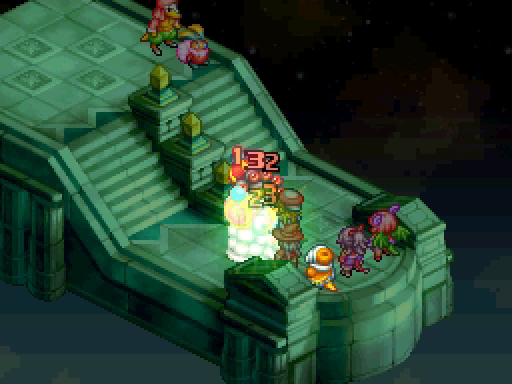
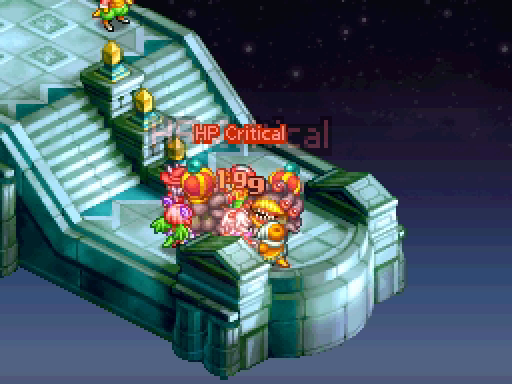
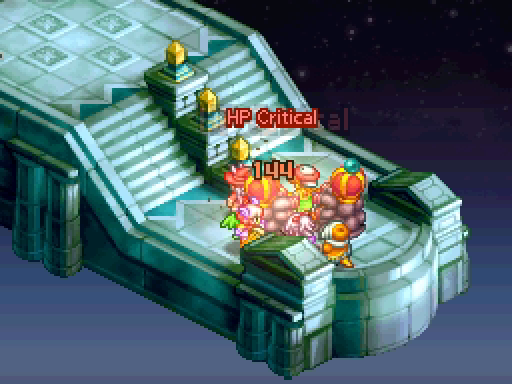
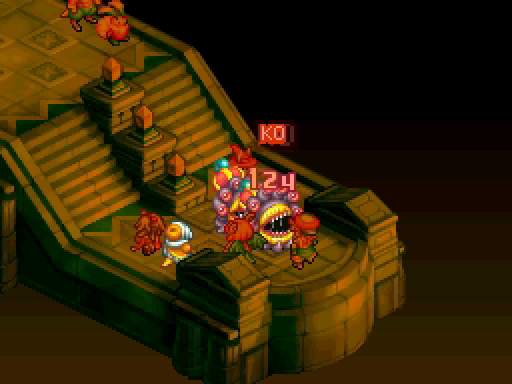
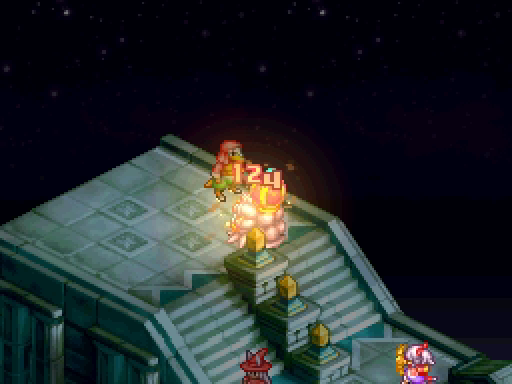
For example, the battlefield is set up perfectly to allow Lenolia to hit every enemy, netting her a neat triple KO.
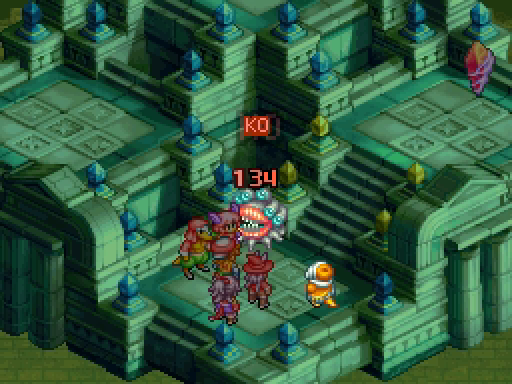
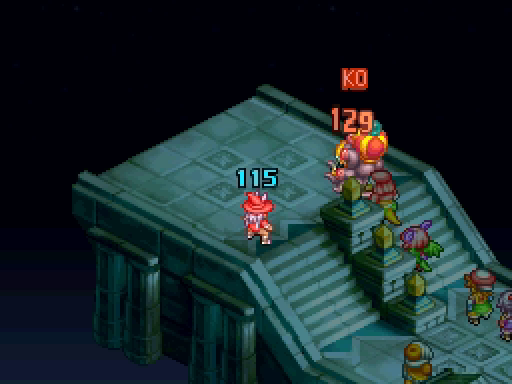
Talf secures the last kill.

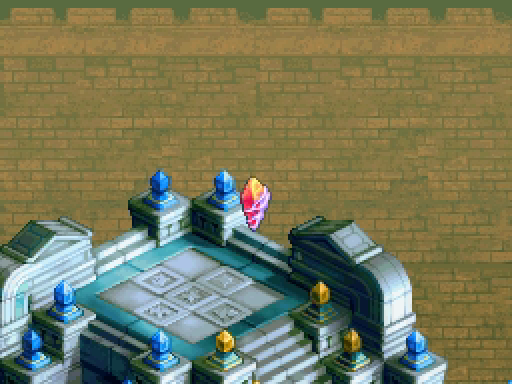
Now, the battle isn't actually over. We still have to all pass through the moonstone to the next level of the tower.

Zoe, this isn't a very helpful time for an Opportunity Command. I suppose it's the thought that counts.
You may be thinking that a viable strategy would be to rush the moonstones and leave the level immediately -- after all, the battle task is "reach the top of the tower!" not defeat all enemies.

Problem is, only the character who touches the moonstone will leave. It's very risky. You're giving the enemies a huge advantage by reducing your team, giving them both fewer targets and more turns. On the other hand, it could save you from failing a floor.
Eventually, everyone touches the moonstone and the level ends.
---
Next floor already! Looks like more of the same enemies, but with some Pavilsag (as these Baknamy variants are called) as backup.

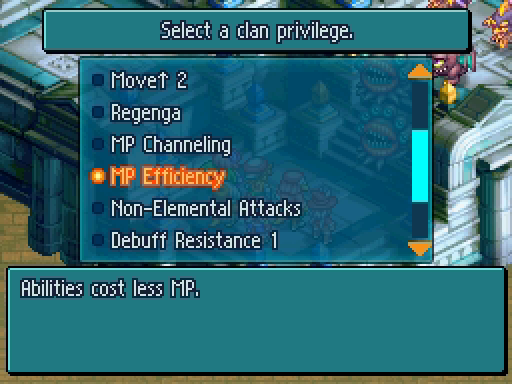
The law is the same, but this time I'm taking MP Efficiency. Regenga was probably the better choice though.
Not much time to breathe, the battle starts immediately.

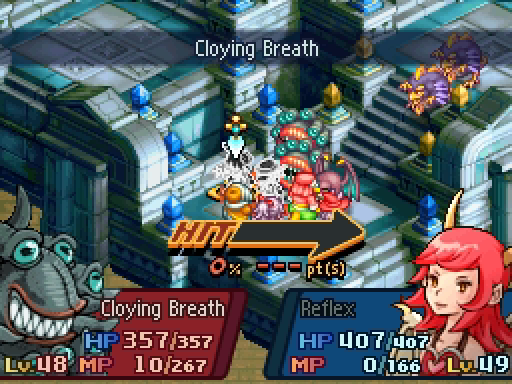
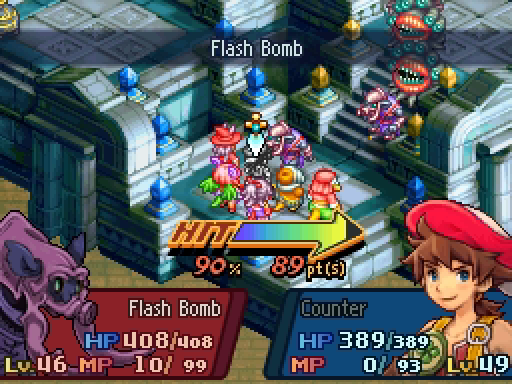
Seriously, you don't even have time to check the enemies. Flash Bomb is another Turning ability, probably the weakest one: it deals minor damage and bypasses R-Abilities.

The Blackwinds all rush forward and peck away at us. They're not huge threats, though of course chip damage can really add up.
Their turns are finally over and we can punish them for being grouped up.

I haven't forgotten you, Lennart fans!
Yeah, that's the stuff!
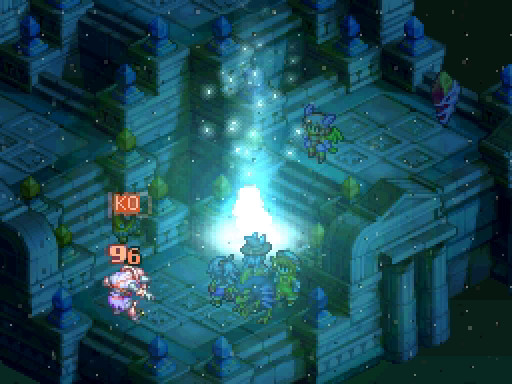
Slightly tighter quarters for Lenolia, but she still lands a double KO.
Even better, the Blackwind she weakened wastes itself on Samuel.
It really seems like poor Talf won't get more than one turn in per floor.

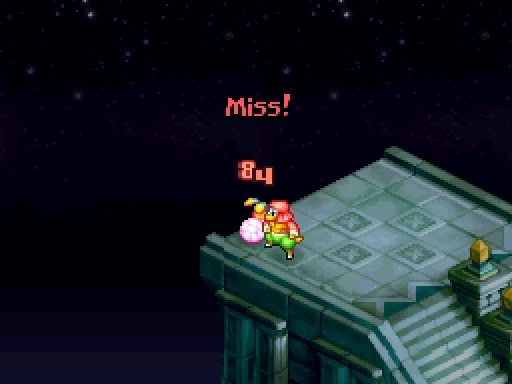
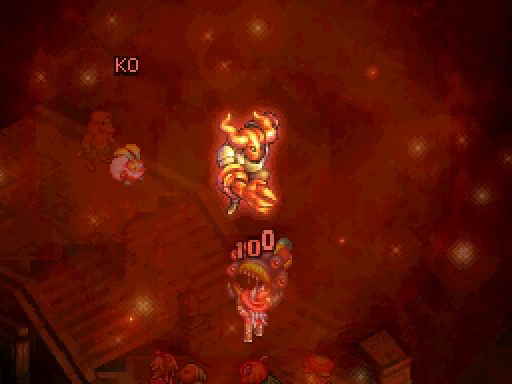
I can't tell if it's bad luck or what, but enemies hitting low-accuracy attacks will be a theme throughout this dungeon.
Still, it only slows us down a little.
Samuel kills the last Blackwind with enthusiasm.
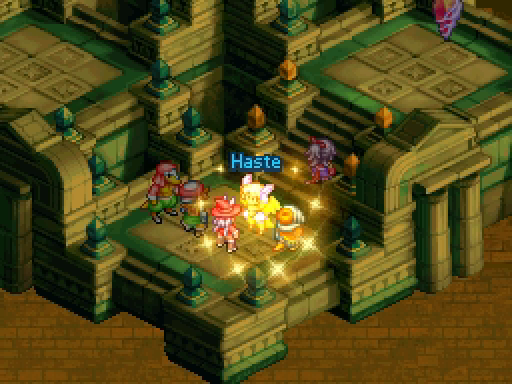
The nice thing about needing to use the moonstone to advance is you have time to recover after the battle. Take a few turns to heal units and regenerate some MP (it'll carry over to the next floor!) before throwing yourself back into the fray.


This is important: there are two crystals on this floor. Take the one on the right!
---
Both crystal will take you to Level 3, but this version of Level 3 has treasure! That treasure chest on the far left of the battlefield is why you need a character who can fly or teleport. You do not want to miss it!
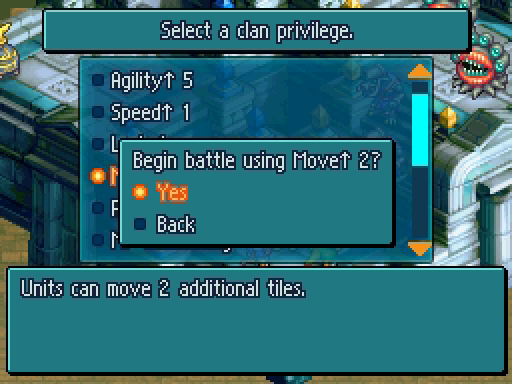
I chose Move +2 because I'm just not good at making decisions sometimes. I wanted to get the treasure ASAP, but you have all the time in the world.
It turns out OK but the health regen would have been helpful.

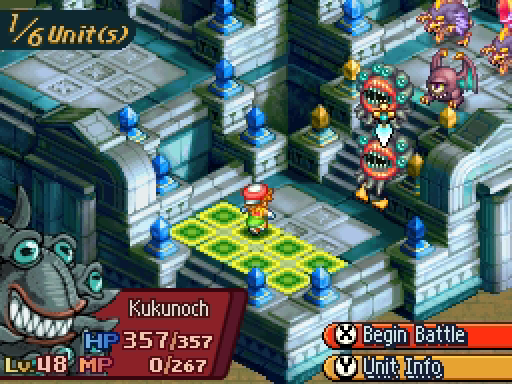
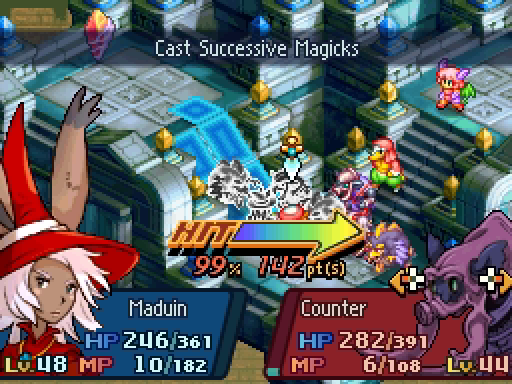
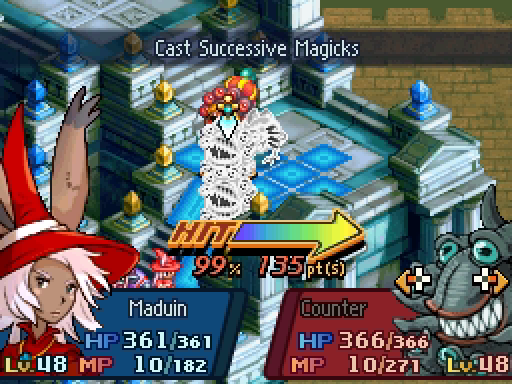
This is our first boss level, featuring Nemeshis the very regal Malboro.
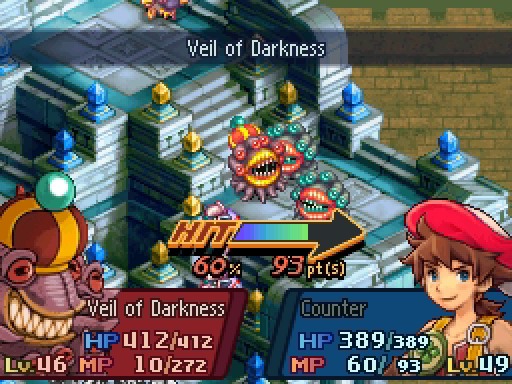
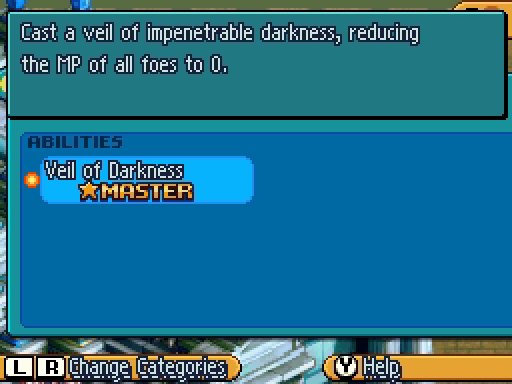
Veil of Darkness is another Turning ability, and it hits everyone for very heavy damage.
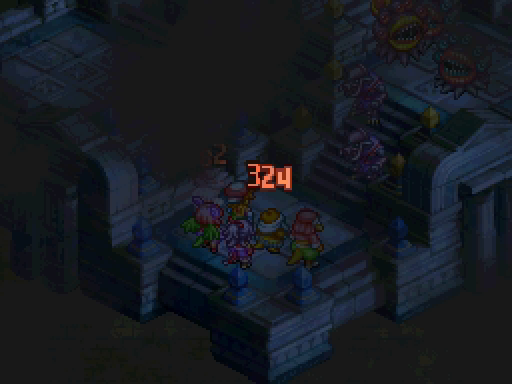
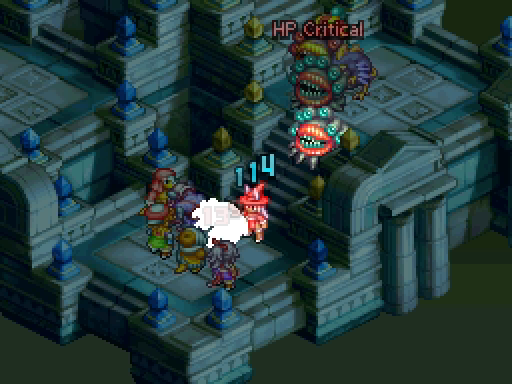
Wait, Talf doesn't even have 324 HP! What's going on here?
Turns out it just drains everyone's MP, as you can see from Samual's empty tank. That's extremely annoying, but not insurmountable. Sure wish I had grabbed MP Efficiency instead though.
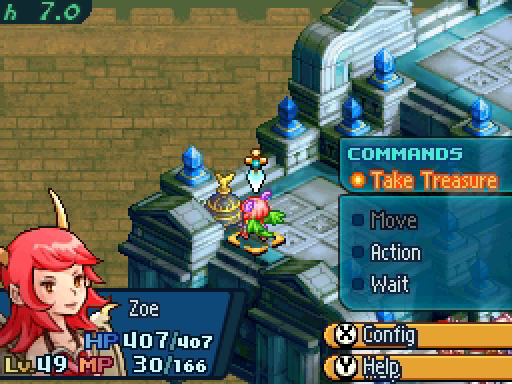

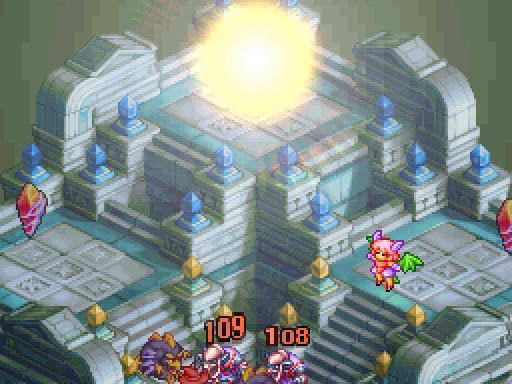
Well, thanks to Move +2, Zoe is able to retrieve the treasure in one turn. The Crimson Tear is a unique accessory that can only be obtained once from the Tower. Since we can't equip it right now, we'll talk about it after the battle. For now, know that treasure like this is the main reward for completing Brightmoon Tor.
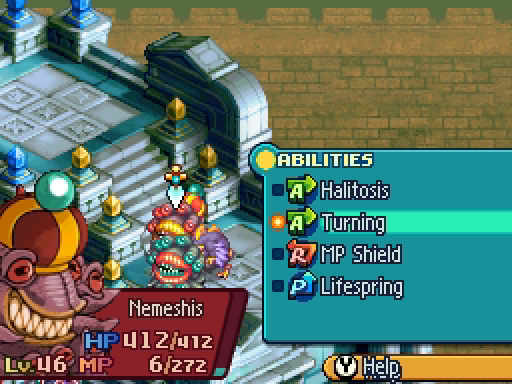
Now that it's finally our turn, we can look at our new enemy! Nemeshis is just a slightly buffed version of the Kukunoch we've been seeing.
If you've been good about protecting your units from status effects, the Malboros are more annoying than threatening, and you should focus on the Pavilsag instead.
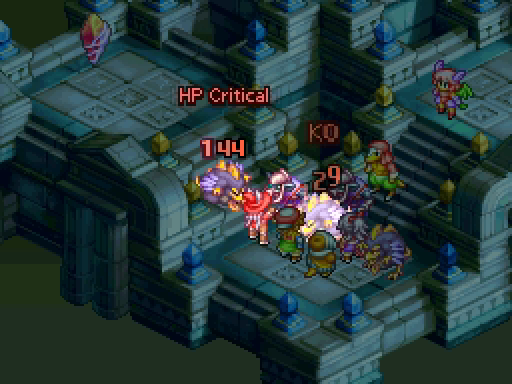
Unless you're Lenolia, who can focus on whatever she wants to.


That's an awesome amount of damage! Until you realize it's about half of what Lenolia did.

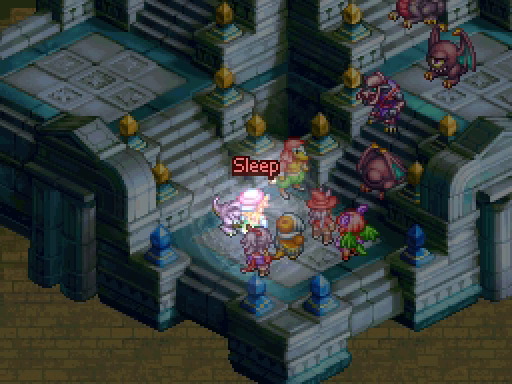
One of these days I'm going to put together a team that's entirely women so I don't have to worry about status effects. Sleep and Slow is a nasty combo, effectively removing Samuel from the fight.
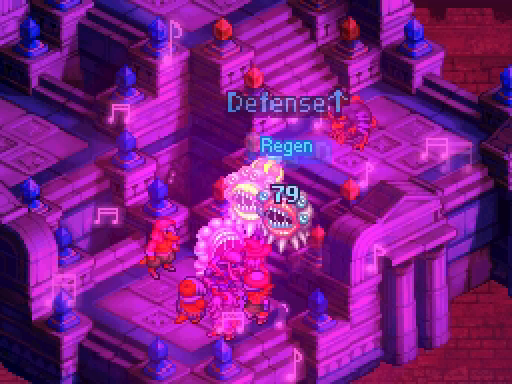
Worryingly, the Nemeshis can drop some serious buffs along with a solid heal.

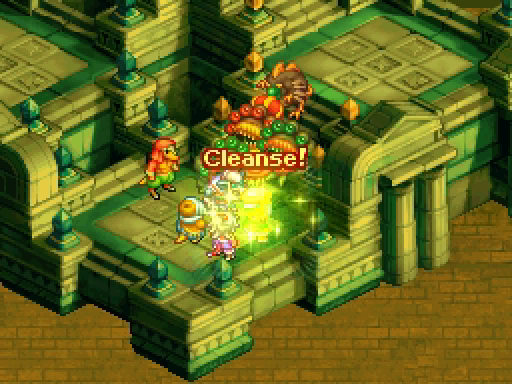
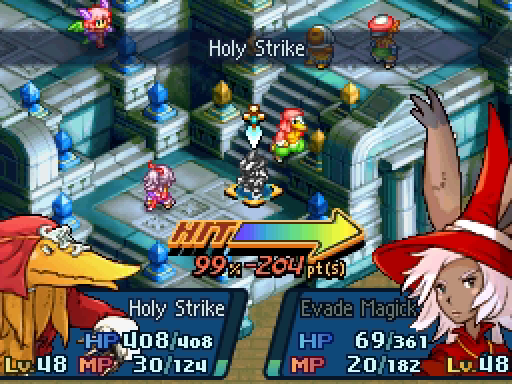
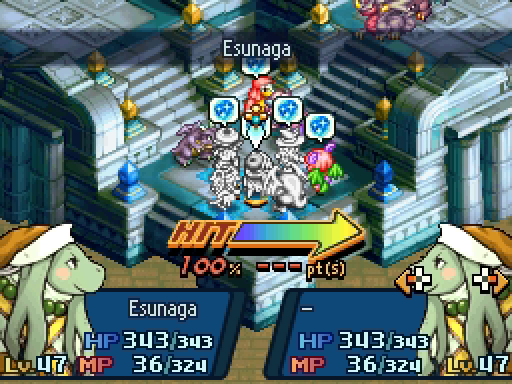
Talf spends his single turn purging debuffs from Samuel. Sage's Esunaga is a combination of Esuna and Refresh, curing every status effect and covering a 2x2 area. It's an excellent spell, though of course prevention is a better cure.
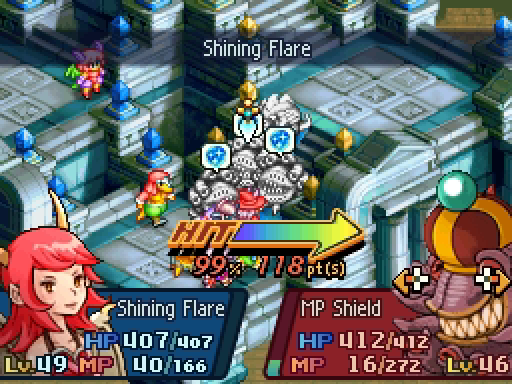
At least we can erase all that healing in a single turn!
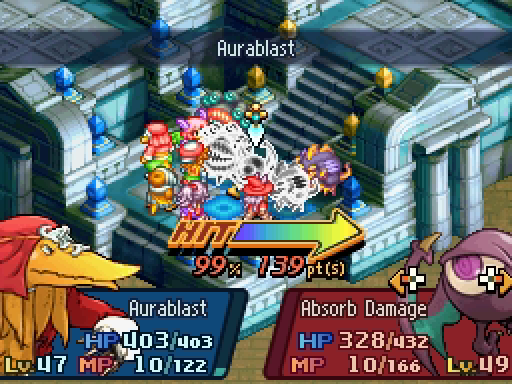
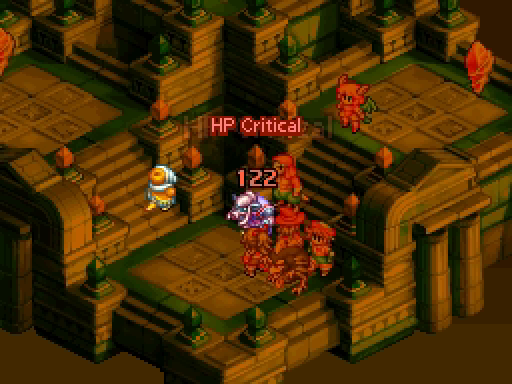
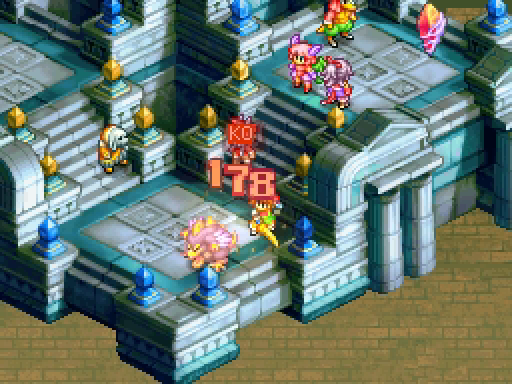
Aurablast continues to be the best bangaa ability across all jobs, netting us two kills.

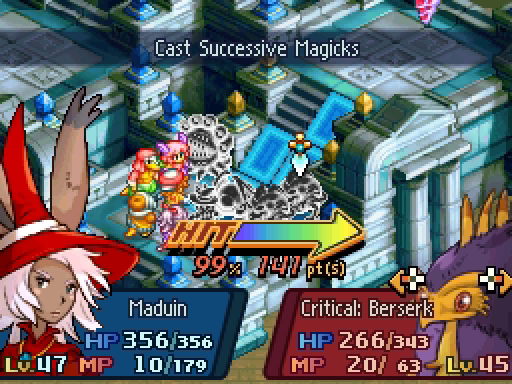
I justify this use of Ultima by knowing we can easily take out 176 HP in a single turn, so Ultima is not a terrible overuse of power.
Also I don't like this boss.
Lenolia and Samuel clean up the last two enemies. Not bad, for a boss level.
For some reason, the moonstone doesn't appear until you defeat all enemies. I suppose it stops you from ignoring the boss.
Time to heal up and move on! Lenolia's the weakest right now, though that's easily resolved by punching her sanctimoniously.
Another Opportunity Command? Really? Why can't you get these during battles?
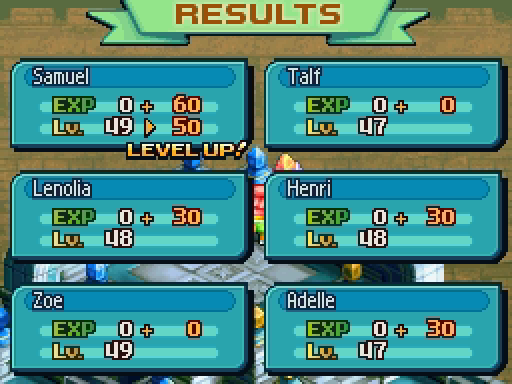
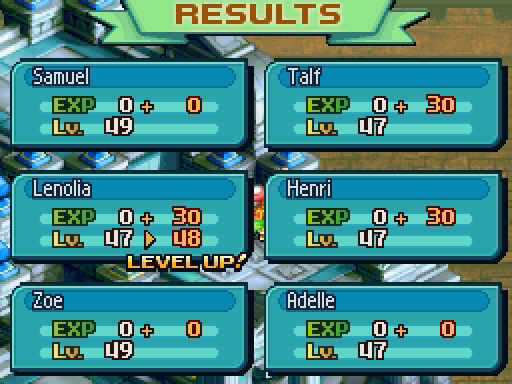
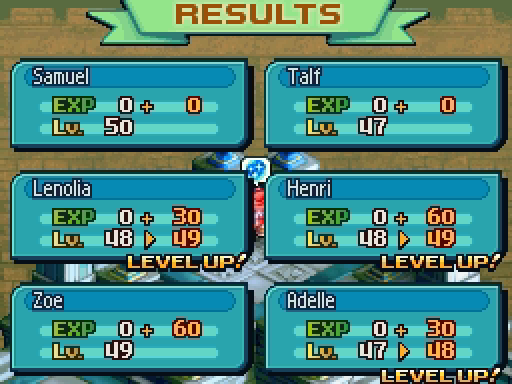
I'm actually kind of impressed by the amount of XP we're getting. It's all "Bonus" XP, which I think is partially based on how many enemies the unit kills.
---
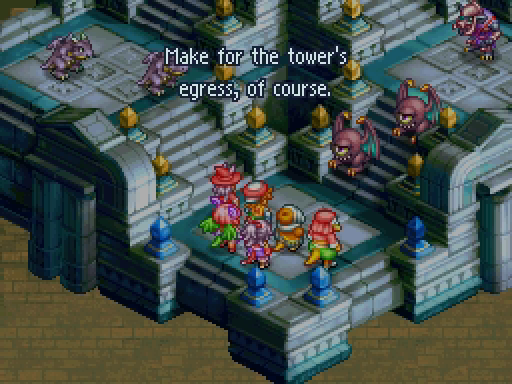
Thanks for the advice, mysterious threatening voice!

Presumably that was the Keeper, informing us this is the last floor before the First Watch.
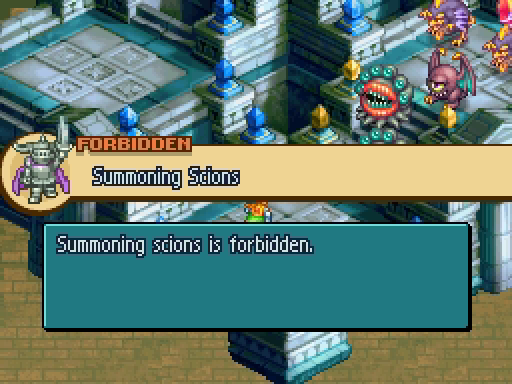
Still forbidden from summoning Scions, taking Regenga this time because I learned my lesson.

This is the second boss level, and our first introduction to Brightmoon Tor's dragons.
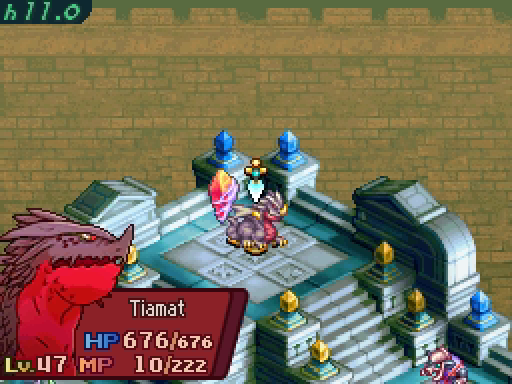

Tiamat is an especially powerful Nidhogg, and the Varigarmanda (a reference to FF6?) are packing some extra abilities.

Of course, they don't actually use those abilities well.
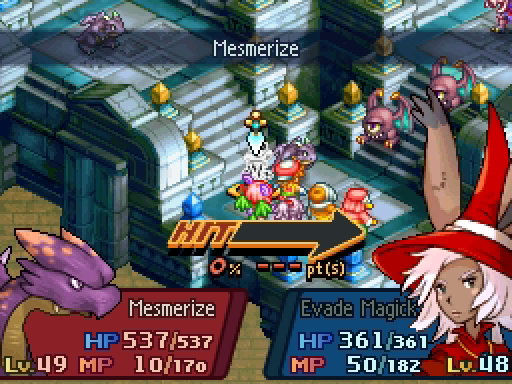
The two Evil Eyes also have Turning, though only the health-stealing Soul Spring ability.
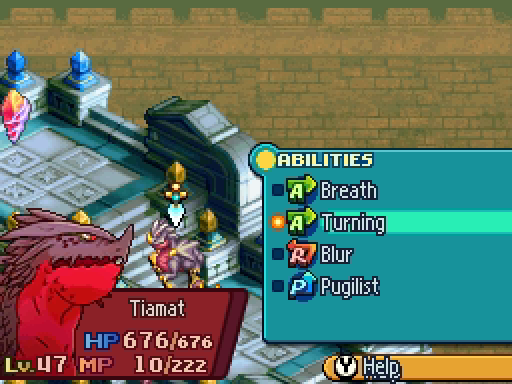
Of course Tiamat has Turning, with the powerful Dark Elixir attack. All in all, we have our work cut out for us.

The Varigarmanda are weak to Fire and absorb Ice, so Geomancy is a good choice here.
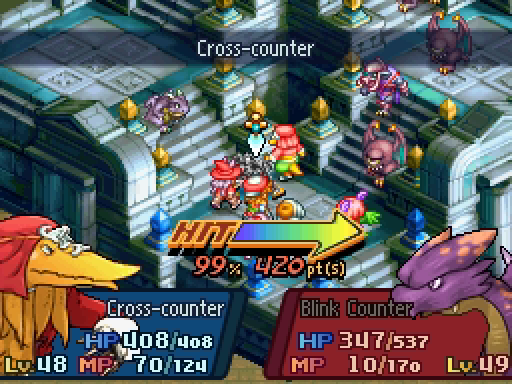
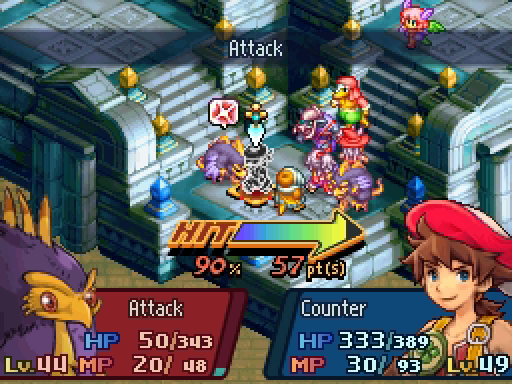
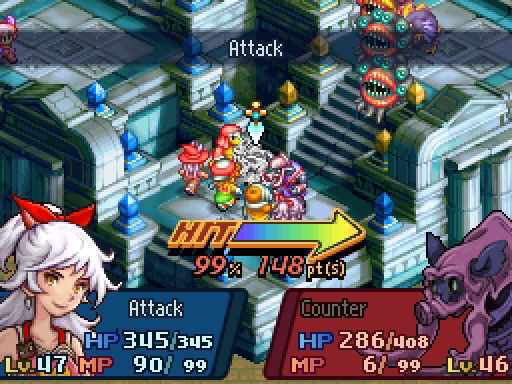
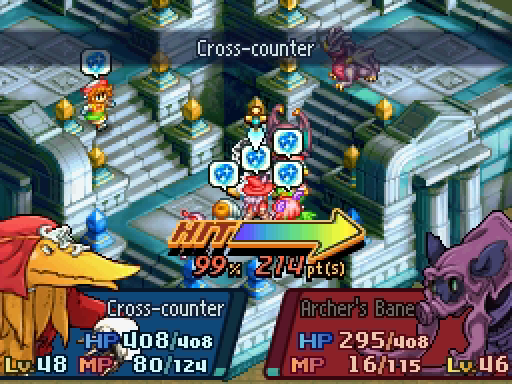
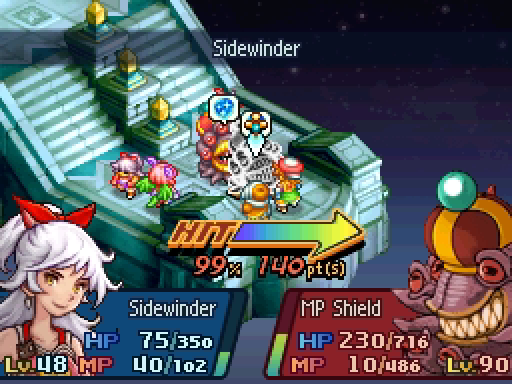
Or just completely obliterate them. Cross-counter + attacking from behind + Unscarred is a scary powerful combination!
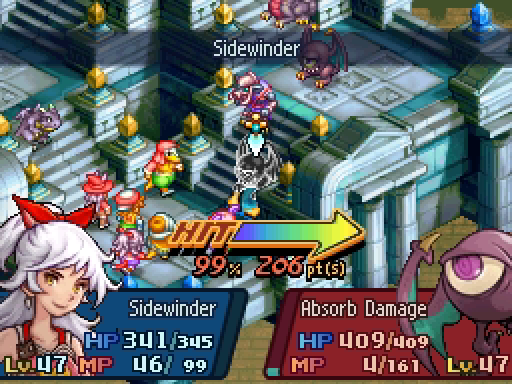
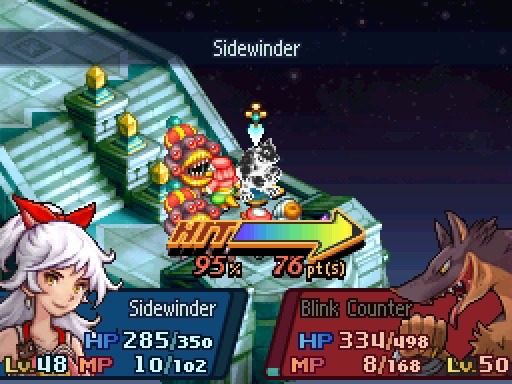
Sidewinder deals double damage against against monsters. Then double that damage again since Adelle's holy-damage Seventh Heaven greatbow exploits the Evil Eye's weakness to holy damage. It almost makes Hunter look impressive.

The enemies are a bit more spread out, making Lenolia's job harder.
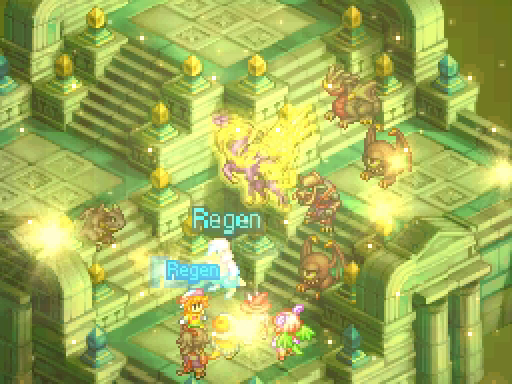
So instead, I decide to experiment with Regen. Will the normal Regen buff stack with Regenga?
Sadly, no, it doesn't. I don't think it overrides the clan privilege, which is nice.
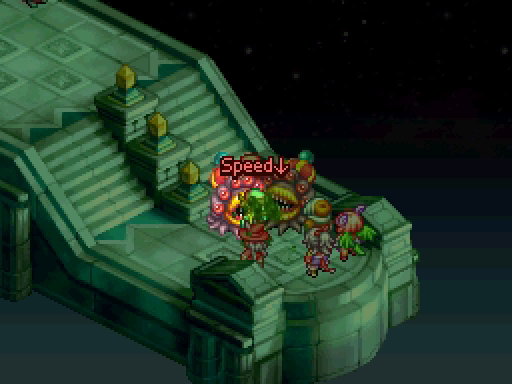
Poor Talf has his MP stripped away by the Pavilsag's Magick Hammer and then gets nailed by Binding Circle, which reduces his speed even further.

But Esunaga saves the day!
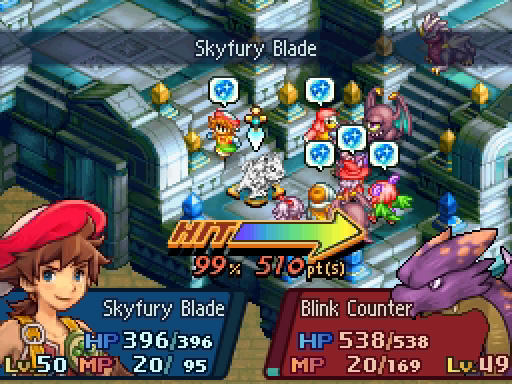

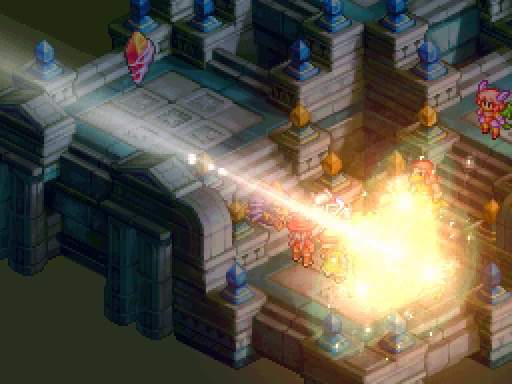
Wow OK, Samuel decides to hop on the incredible damage train too. Skyfury Blade + Geomancy to lower resistances + back attack.
Adelle cleans up the Evil Eye and Zoe takes out the Varigarmanda. Tiamat is getting close, so I want these lesser enemies out of the way.

Cross-counter is less fun when they don't have an ability to counter.
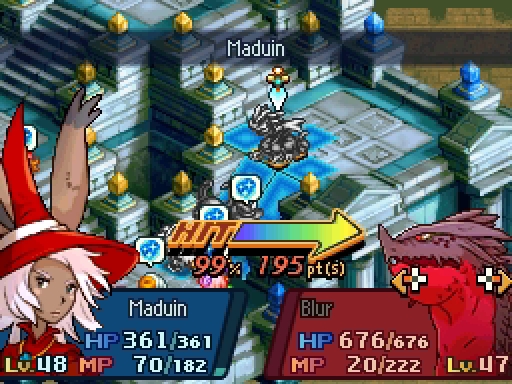
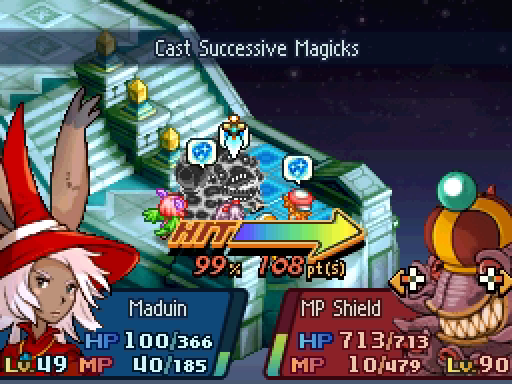
Lenolia starts in on Tiamat, whose 600+ HP honestly isn't that scary after facing Upsilon-A2. This also kills the lingering Pavilsag.

Talf's miraculous second turn nets even more damage against Tiamat.
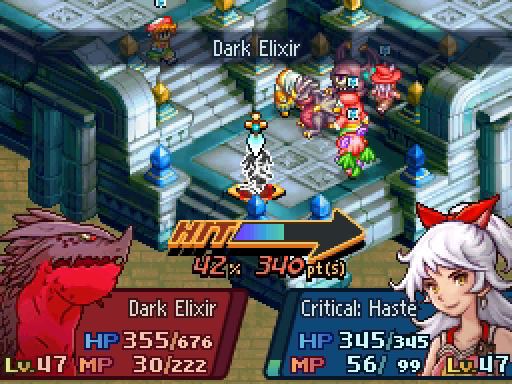
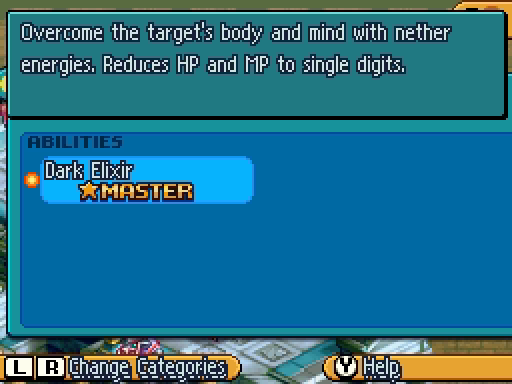
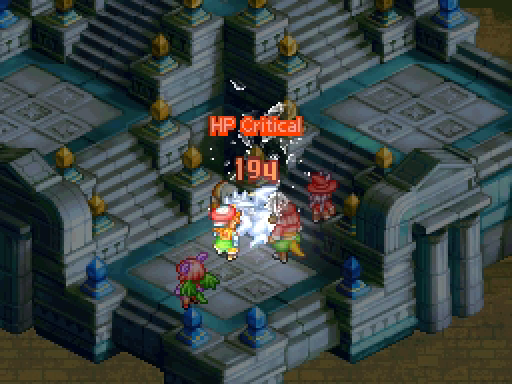
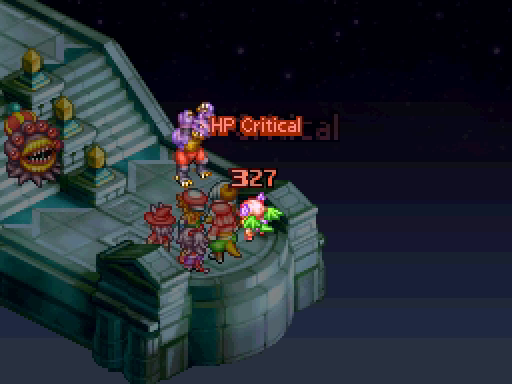
The dragon immediately repays our efforts with Dark Elixir, a Turning ability that reduces the target's HP to single digits.

Notice again the low accuracy.

The Evil Eye immediately takes advantage of Adelle's weakened state.
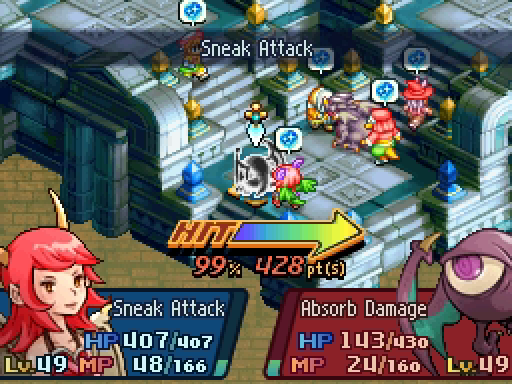

Zoe avenges her. Sneak Attack is just really that good!
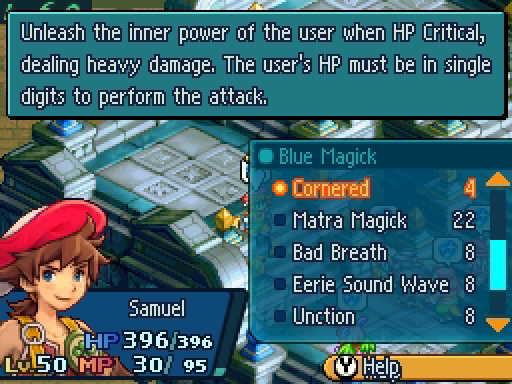
I had actually hoped Samuel would be the target for Dark Elixir, since he could immediately whip out Cornered and have some real fun.
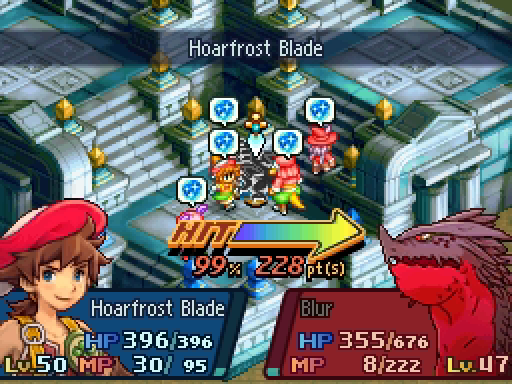
Hoarfrost Blade is good enough, thankfully. Tiamat actually resists fire, ice and thunder damage, but Geomancy means Samuel will deal regular damage instead.

However, it is weak to Holy!

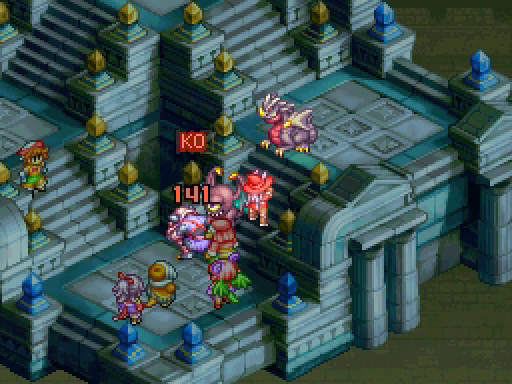
The battle is done and Lenolia starts healing--

Seriously? That's the third time this quest!
Still, that's the last floor done.
---
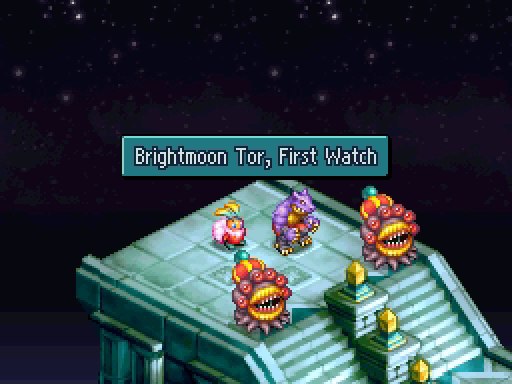
Time, then, for the First Watch.


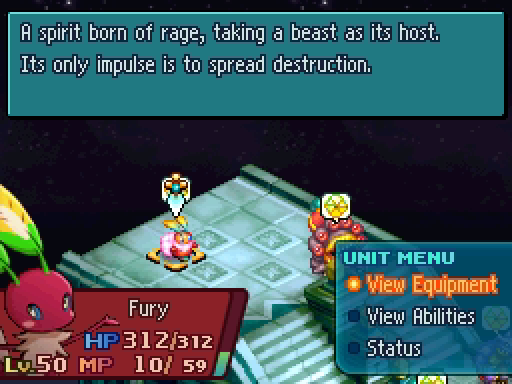
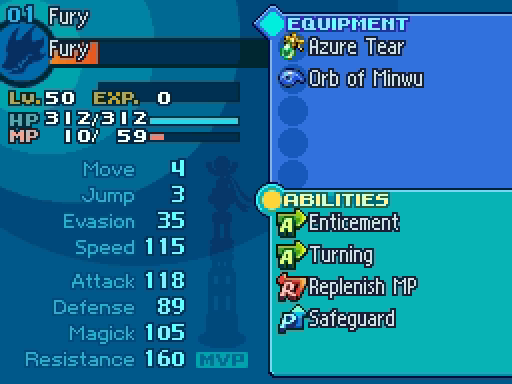
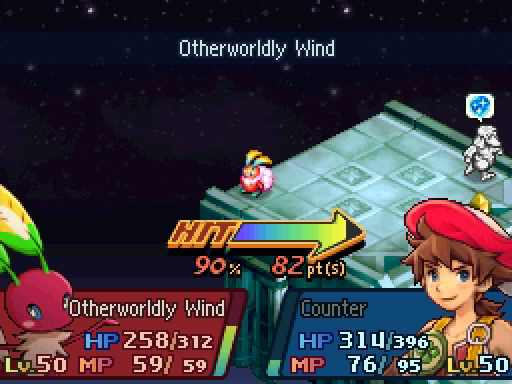
The Watch is the final boss battle of Brightmoon Tor. There are only four enemies: Fury, a kind of Dreamhare; Humbaba, a Werewolf variant; and two level 90 Nemeshes.
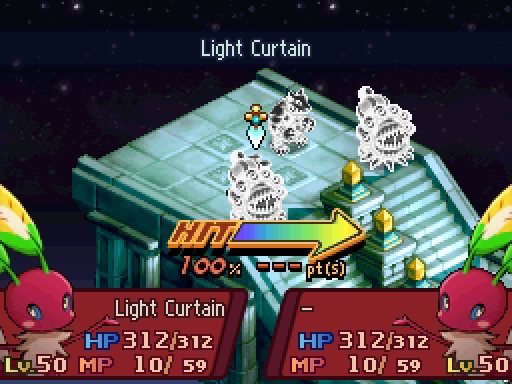
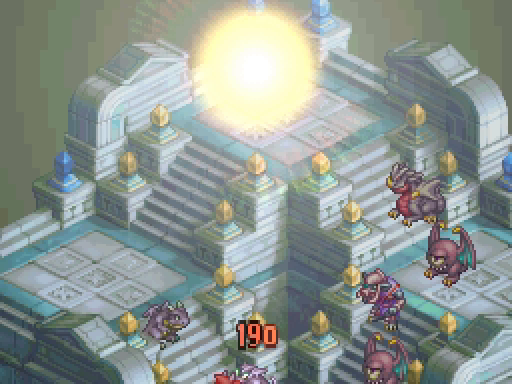
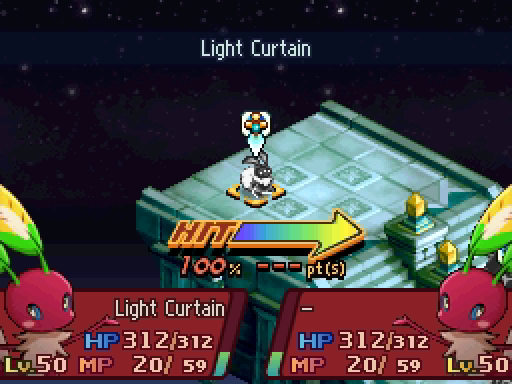
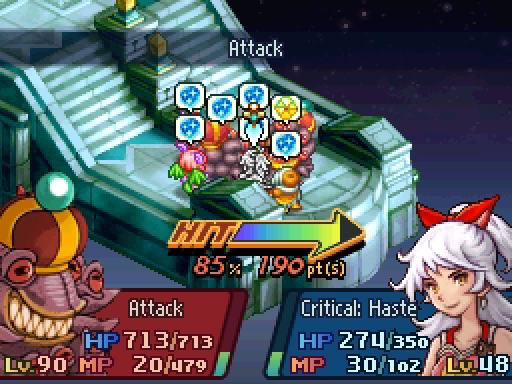
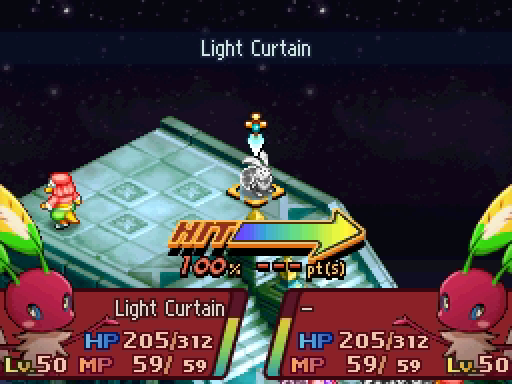
This battle is difficult -- two level 90 enemies! -- but it is primarily annoying. Light Curtain grants Protect and Haste, for starters.

This is the turn queue before and after Light Curtain. See the long strip of red? We aren't getting turns any time soon.
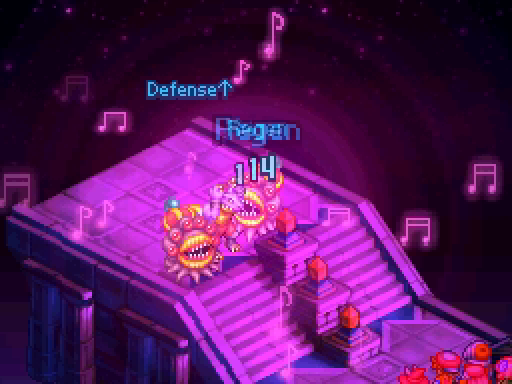
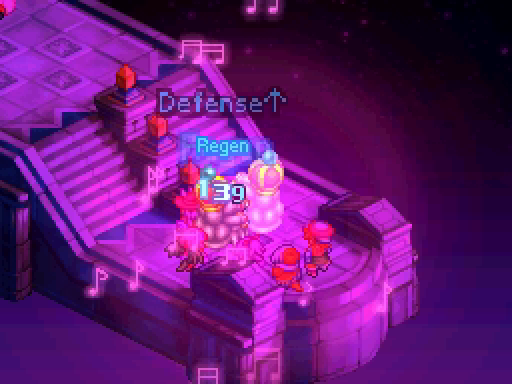
We get to just sit here and watch the enemies buff themselves. Add Defense Up and Regen on top of what Light Curtain gave them.
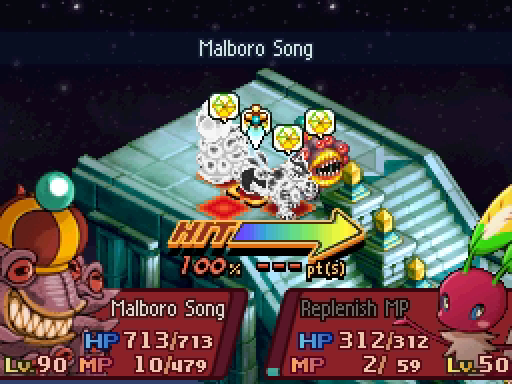
Malboro Song adds Attack Up to the mix.
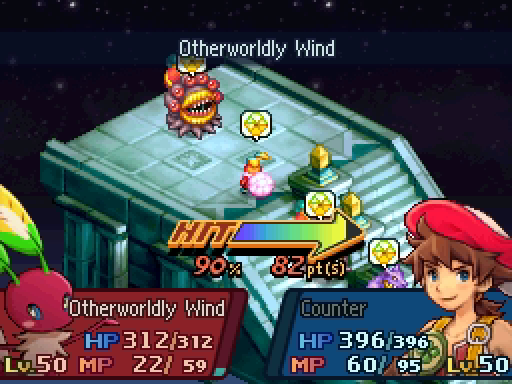
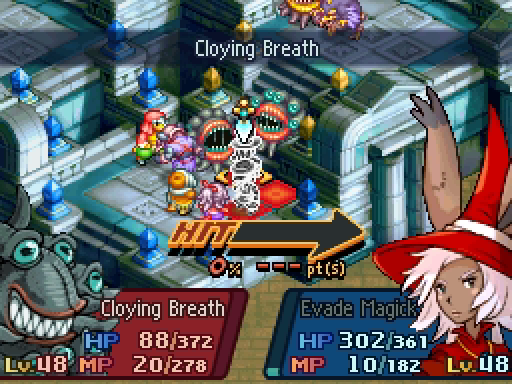
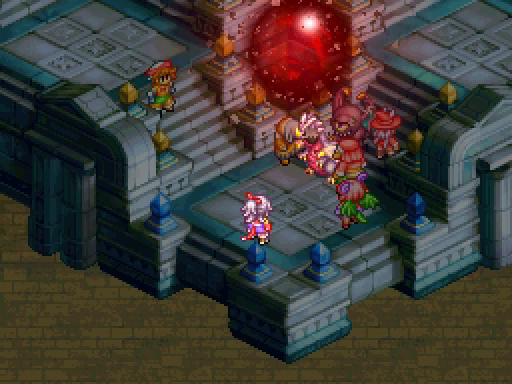
Otherwordly Wind is a team-wide attack that deals moderate Dark damage. This time, it's not our MP being drained.
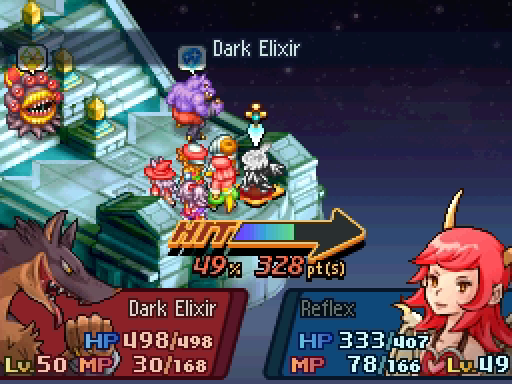
On top of that, Humbaba has Dark Elixir and nearly kills Zoe.

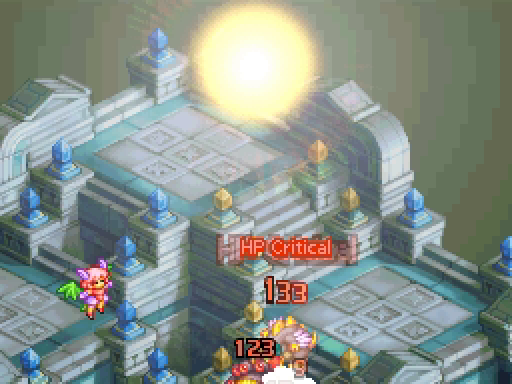
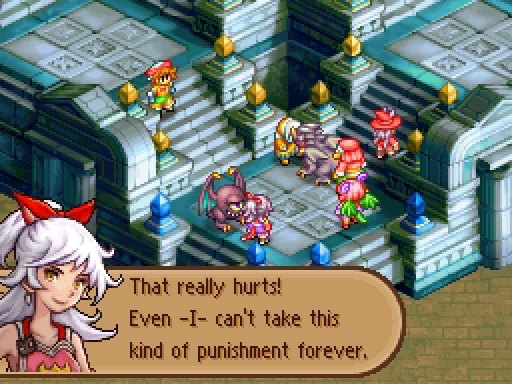
And then the second Light Curtain comes out.
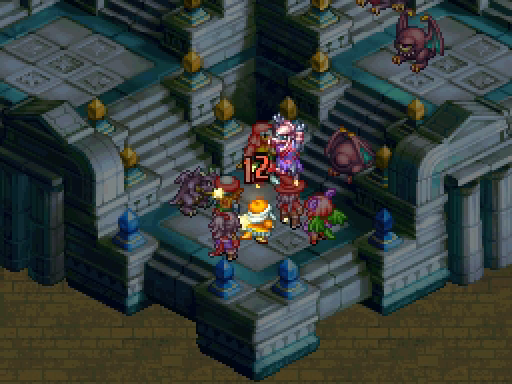
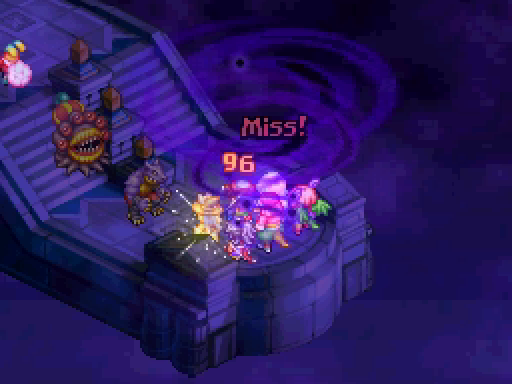
Only Humbaba and one of the Nemeshes are close enough to attack us, but I think that's enough! 133 damage is ridiculous -- that's the kind of damage we deal!
Finally, it's our turn and we can take a look at what we're facing.
This took three minutes. Three actual, real-time minutes, just watching the AI trundle along and buff themselves to high heaven. I actually got up and walked away at one point because there was nothing I could do.
Three. Whole. Minutes.
Welcome to Brightmoon fucking Tor.
Now that it's finally our turn, let's get going. The enemies in Brightmoon Tor are often wearing Orbs of Minwu, leaving them open to conditions like Slow. It's not a bad idea to take advantage of that.


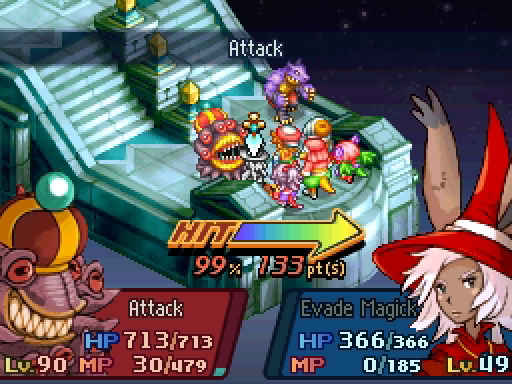
Thanks to their frankly absurd buffs, we aren't doing nearly as much damage as before.
Seriously. Remember when this did 200+ damage? Sure, Adelle doesn't have elemental advantage here, but 76 is still paltry.
Oh also this will keep happening.
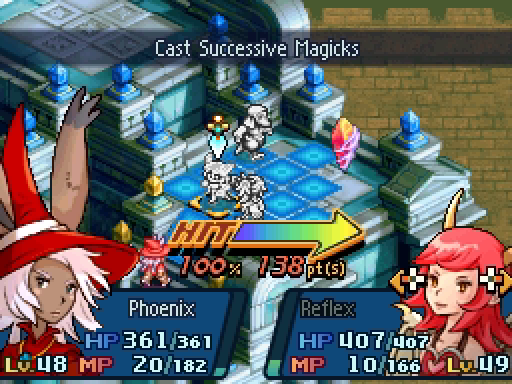
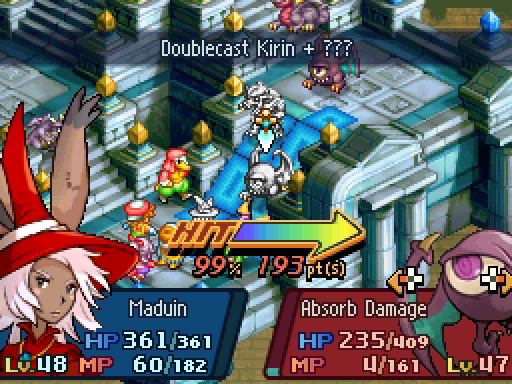
My plan was to use Lenolia's Kirin summon to give everyone Regen, freeing up the privilege slot for MP Efficiency. This would let Talf and Zoe pop off some serious spells while also reducing the Blood Price risk to Lenolia.
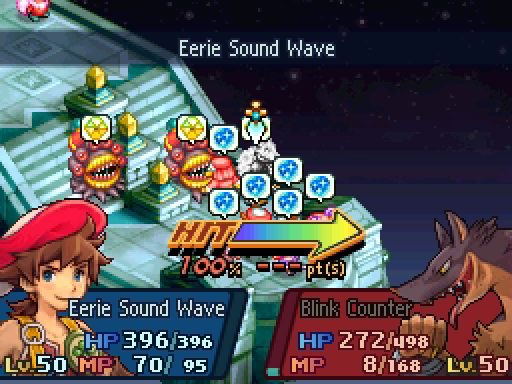

But with all the buffs on the enemies, my best bet would actually be to have Samuel use Roar to strip the buffs. Eerie Soundwave is a nice single-target alternative, saving our Regen for a few turns.

The Nemeshes and Humbaba are all weak to Air, though Fury is weak to Fire.

Turns out Humbaba is wearing Mirror Mail, which I really should have checked. Oh well, we've been beating up on it and it's in Critical HP.

Humbaba is honestly the least threatening enemy. Fury has annoying support abilities and absurdly high evasion, and the two Nemeshes are level 90. But it's always good to get a target out of the way.

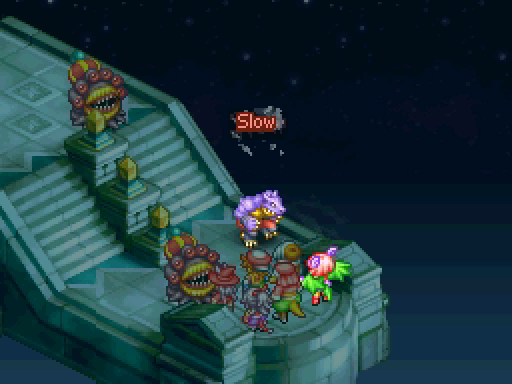
Please just let me give everyone Ribbons, seriously! I know Ribbon Bearer is available, but the P-Ability slot has so much more potential than that. Speed Down is almost worst than Slow, and Samuel is barely going to get any turns unless we can remove it.
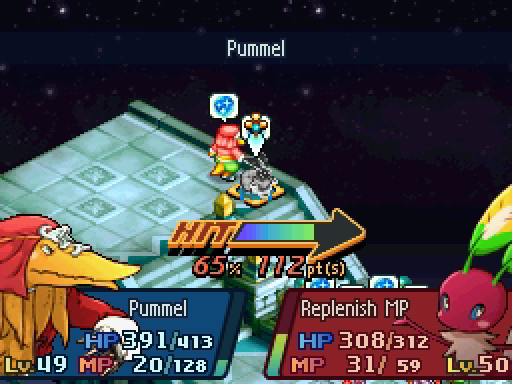

My plan is to send Henri to deal with Fury while the rest of us handle the plant monsters. Pummel is a Master Monk ability I rarely use. It does two weak attacks, but since Fury's best defense is evasion, that's what we need right now.

Meanwhile, everyone else tries to chew through these damage sponges.

They're going to chew through us a lot faster though.
Still, we can do some damage.
How long do you think they'll let us do this?

Adelle knocks one of them down to Critical HP, which means we'll be able to--


--nearly get killed. Right.

Henri update: still doing his best.
Almost there! Try to focus on just one of them at a time, since 700+ HP with Defense Up and Regen is a lot to handle.
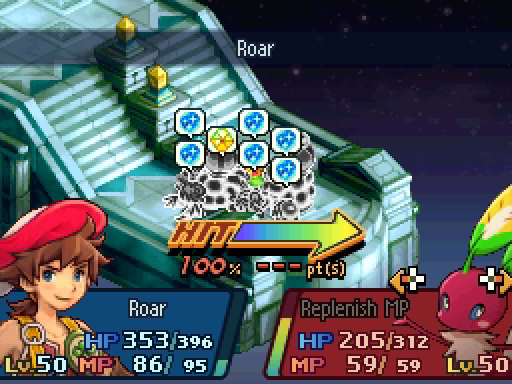

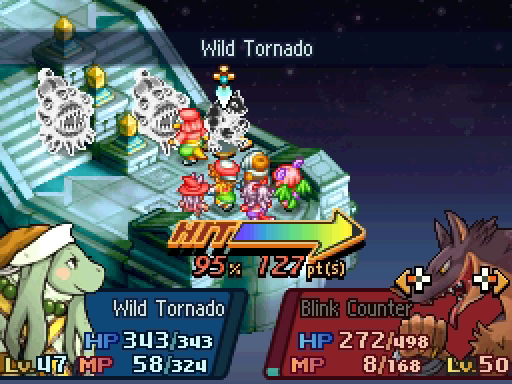
Roar strips away our Regen, but honestly I think stripping away the enemies' defensive buffs will help us finally kill them.
...well I tried. There's their defensive buffs and a nice chunk of health back.
Lenolia tries.

But it immediately heals itself back up.
I'm really glad they haven't tried to kill Adelle. Damage is right now more important than healing!
I realized why I felt a surge of hatred when I saw a Dreamhare for the first time in this LP. They're always extremely annoying, but this one takes it to a whole new level.
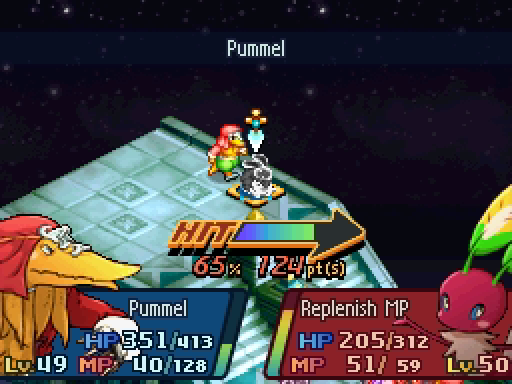

Pummel is missing half the time, but since it's 2 attacks, I'll take it.

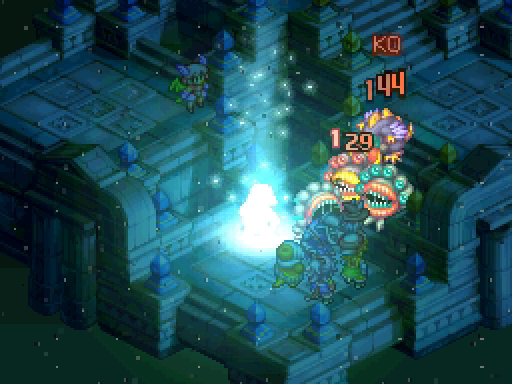
Talf finally kills the weakened Nemeshis. It's a 6 vs 2 battle now and I still feel like the underdog.
...

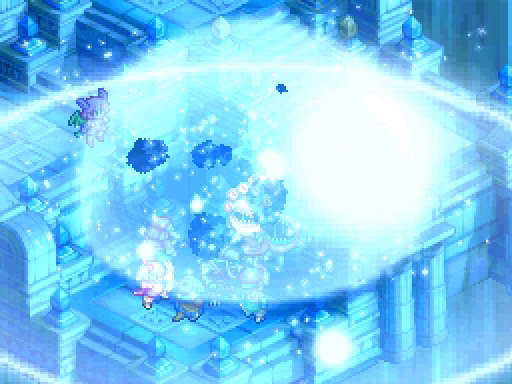
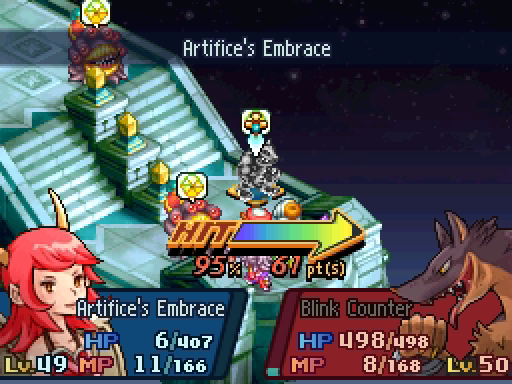
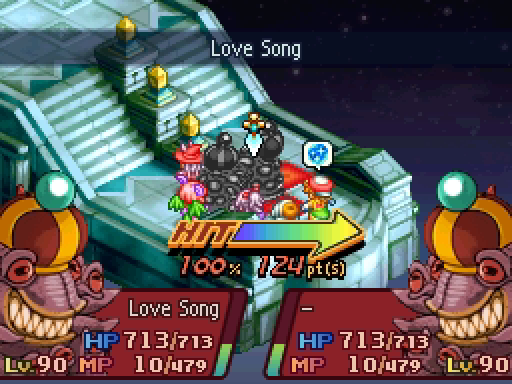
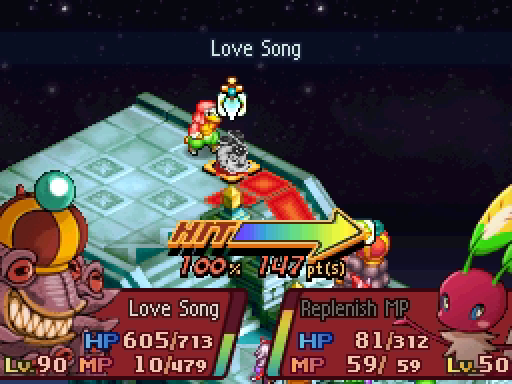
Lenolia sacrifices a significant chunk of her own HP and luckily lands two Ifrit summons on Fury, finally sending that wretched beast to the fiery hell it deserves.
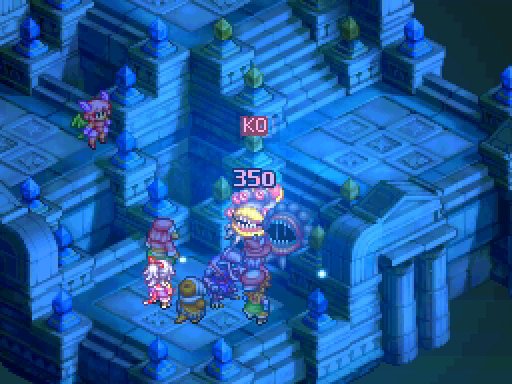
Bereft of its friends, the last Nemeshis sings to itself.
We ignore its plight and vent our considerable frustrations on it.


Also Talf cures Samuel, and Samuel finally heals Adelle.
Finally, Lenolia kills the Nemeshis with a blast of holy magic.

May the healing begin.
---
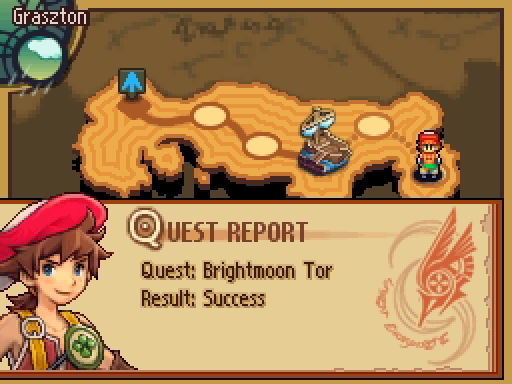
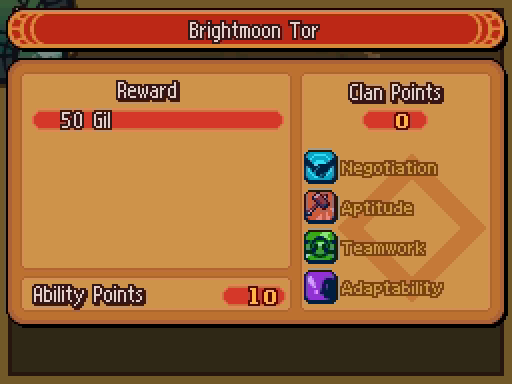
That's it? That's the whole reward? 50 Gil and 10 AP?!

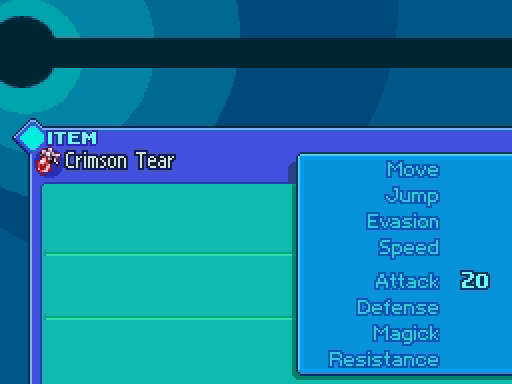
Well, we did also pick up the Crimson Tear. This little accessory boosts Attack by an impressive +20, which is incredibly useful for heroes like Samuel or Henri.
You can only ever get one of these, and it's only available from Brightmoon Tor. It's a pretty good reward, overall.
There is one more thing waiting for us...
---
Thanks for reading! I hope you enjoyed this foray into Brightmoon Tor. I'm tempted to upload the raw video of the start of the First Watch so you can experience for yourself what I went through.
Edit: Here's the video! https://www.youtube.com/watch?v=RqpPd_4l_qI
It is time once more for voting! Let's do some lighter fare next time: vote for up to 2 of the following quests!
That means you can vote twice for the same one, if you want.
1. The Komodo Potions company could use a hand.
2. Some chefs are looking for help gathering foodstuffs.
3. There's a lot of activity in the Nazan Mines, too.
4. Or, of course, do some filler quests!